
Quick Answer
If you have under-extrusion after replacing the nozzle, the most likely cause is a tiny gap in the hotend from tightening the nozzle while cold or from a Bowden tube that is not fully seated. That gap collects melted plastic and chokes flow, so lines look thin, patchy, or full of gaps. Check that the nozzle size in your slicer matches the new nozzle, then re-seat the nozzle while at printing temperature, reload filament until it flows in a straight, steady strand, and run a small calibration shape to confirm improvement.
Why This Happens
A nozzle must seal directly against the heat break or against the end of the Bowden tube, depending on your hotend design. If you tighten it cold, metal expansion during heat-up can leave a hairline space where plastic pools and partially hardens. That pooled plastic narrows the melt path, so you get clicking, inconsistent width, or missing sections even though the nozzle itself is new and clean.
A second common cause is a slicer mismatch. If you moved from a 0.4 mm tip to a larger tip but left the profile at the old size, the printer will push the wrong amount of plastic for the new opening. The reverse can also look like under-extrusion, with excess back pressure and skipping. A switch from brass to hardened steel can also need a small temperature lift because steel moves heat differently, so old settings may now run a little cold.
Debris and tube position also matter. A Bowden tube that was pulled up slightly during the swap, cut at an angle, or pushed down onto old burnt residue will not seal cleanly. Even a small flake of old carbonized plastic knocked loose while you changed the nozzle can lodge above the new tip and restrict flow. You may notice good flow for a few minutes, then gradual thinning as pressure builds.
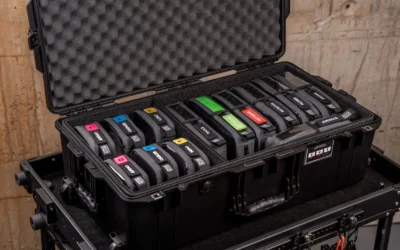
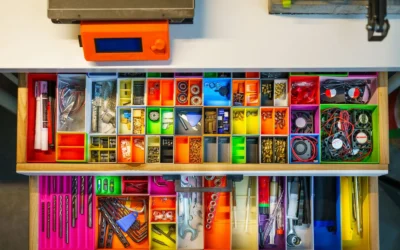
Handling during the swap can disturb nearby parts as well. Filament dust on the drive gear, a slightly loose coupler, or extra friction from a kinked tube can reduce push force right when you need steady feeding. Keeping spare tips, needles, and couplers sorted in a small parts organizer helps you avoid mixing sizes, and storing maintenance spares in labeled clear storage bins keeps dust and moisture away from fresh filament.
Fixes to Try
- Confirm the installed size in software. Look at the tiny marking on the nozzle flat, then open your slicer and verify the nozzle diameter matches. Also confirm filament diameter is still set correctly for what you use, then slice a fresh file rather than reusing old g-code.
- Re-seat the nozzle while hot with safe technique. Heat to the upper end of the filament maker’s suggested range, hold the heater block gently with a suitable wrench without pulling on wires, then snug the nozzle lightly until it seats. Let it cool, reload filament, and look for a straight downward strand with no curling or sputtering.
- Reseat the Bowden tube if you have one. Let the hotend cool fully, release the coupler, pull the tube, and check for a chewed end, burnt ring, or angled cut. Trim back to clean material with a square cut if needed, push it firmly to the bottom while the fitting is locked, and confirm the coupler grips without slipping.
- Give the plastic a little more energy. Try the upper end of the maker’s temperature range and slow down the outer walls and first layer to reduce demand on the melt zone. If your printer allows flow adjustment, try a small upward nudge and watch whether gaps close up without causing blobs or stringing.
- Clear a partial restriction and check the feeder. Do a cold pull or use a fine cleaning needle from a nozzle kit to draw out residue, then inspect the extruder gear for dust and confirm spring pressure is firm but not crushing the filament. Make sure the spool spins freely and the tube path has no sharp bends.
When to Consider Replacing It
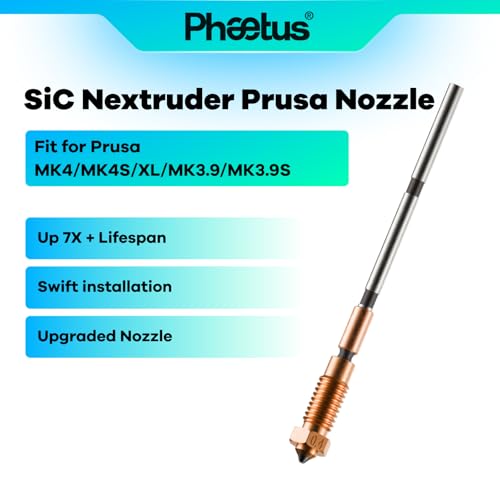
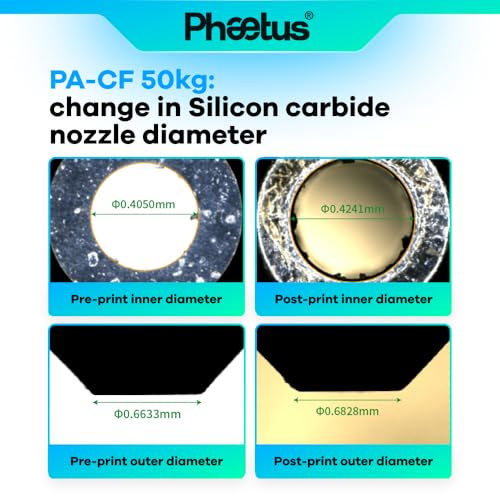
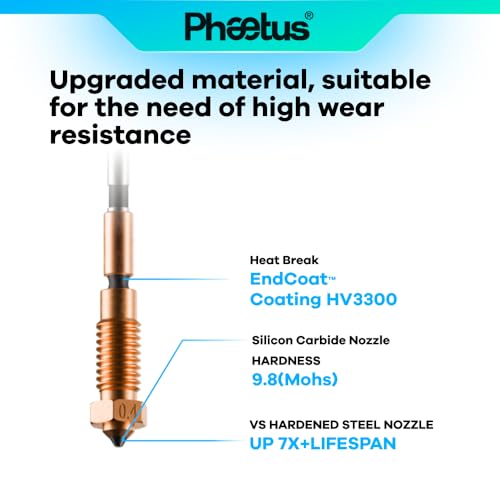
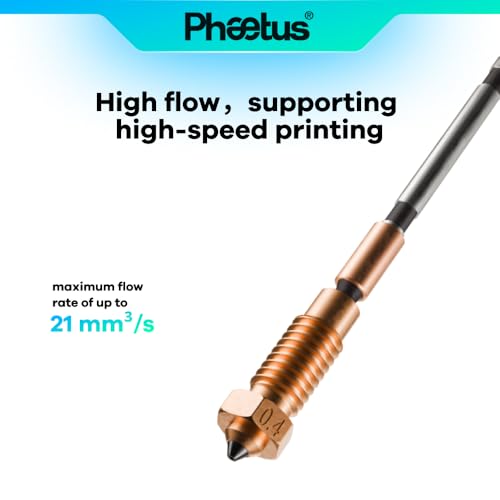
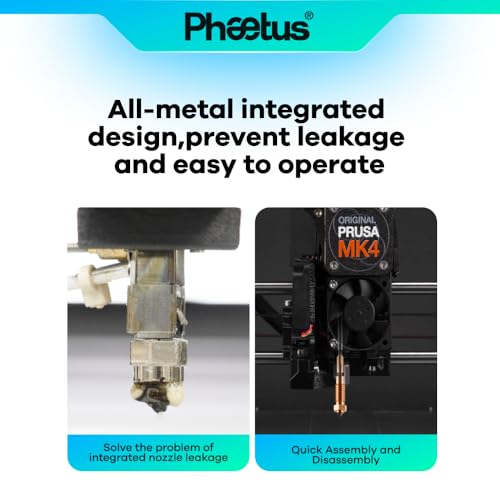
If careful reseating and slicer checks still leave thin walls, airy infill, or frequent skipping, the nozzle itself may be the issue. Threads that gall, a tip that was nicked by pliers, a bore deformed by overtightening, or repeated clogs after two careful installs are signs repair stops making sense. In 2026, many Prusa MK4, MK4S, XL, and MK3.9 owners who want fewer leak and clog headaches keep a quick-swap, high-flow spare on hand as a practical backup option:
This article contains affiliate links. If you buy through one of our links, TheGarageCrafted may earn a commission at no extra cost to you. Commissions never influence which products we recommend or how we rank them. Read our Affiliate Disclosure for details.

Prime Arkfly Phaetus SiC High Flow Nozzle 21mm3/s



As an Amazon Associate we earn from qualifying purchases. Product prices and availability are accurate as of the date/time indicated.
When to Skip This and Call a Professional
Most nozzle swaps are safe DIY work if you avoid burns and wire strain, but some situations call for help. If heater or sensor wires look frayed, the connector smells burnt, you see smoke, or the screen shows a persistent heater error, working further is not recommended for home repair, so skip this fix and unplug the machine. Contact the printer maker or an experienced repair shop for wiring and board issues, and never force a seized, rounded nozzle that risks snapping the heat break.
Frequently Asked Questions
Why is there under-extrusion after replacing the nozzle even though the new nozzle is clean?
A clean tip can still under-extrude if it does not seal fully against the heat break or tube, which creates back pressure above the tip. Slicer mismatch and a tube that shifted during the swap are other frequent culprits. Careful hot reseating plus a fresh slice with the correct diameter often restores even lines.
Do I need to adjust temperature after switching from brass to hardened steel?
You often need a small increase because hardened steel conducts heat differently than brass. Stay inside the filament maker’s suggested range and start at the upper end, then watch line quality. If layers still look starved, slow down slightly rather than pushing temperature beyond the suggested range.
Should I tighten the nozzle when hot or cold?
Tighten while at printing temperature so expansion does not leave a gap, but use great care around heat. Hold the heater block steady, avoid pulling on thin wires, and snug gently without forcing. Always let the assembly cool before touching nearby parts with bare hands.
Browse more picks in our 3D Printer Nozzles & Maintenance Parts category.

Write Your Review
No reviews yet. Be the first to share your experience!