

Quick Answer
If your slatwall starter kit is sagging, the most common cause is that the panels are not fully anchored into wall studs and the weight is concentrated in the center. Try unloading everything, checking that every mounting rail is screwed into solid studs, and then redistributing heavy items toward the stud-anchored sections before reloading.
Why This Happens
Most starter kits rely on a few horizontal rails or panels that must be screwed directly into studs to stay flat. If the kit was installed with only drywall anchors or with screws that missed the studs, the panel will flex outward over time, especially in the middle where there is no support. Even a light load can make this flex more noticeable.
Overloading is another frequent culprit. Starter kits often include a mix of hooks and baskets, and it is easy to hang heavy totes, paint cans, or power tools in one area. When that weight sits between studs instead of over them, the panel bows. For ideas on spreading load more safely, see best slatwall hooks for heavy totes.
Improper screw spacing and wall irregularities also contribute. If screws are only at the ends of a long panel, the center has nothing holding it tight to the wall. A slightly wavy or uneven garage wall can leave a gap behind the panel, so tightening the ends actually pulls the panel into a curve. Humidity and temperature changes can make PVC-based panels expand slightly and amplify that bow.
Finally, accessories that are not fully seated can add leverage. A hook or basket that is only partially locked into the slat groove can pry outward when loaded, which puts extra stress on the panel face. If your screws felt loose or spun during the original install, that is a clue the anchoring was never solid, as covered in slatwall panel screws stripping during Install? 5 fixes before you give up.
Fixes to Try
Work through these steps in order, starting with the easiest and safest. Always unload the wall first so you can see the true shape of the panels and avoid putting stress on loose anchors while you work.
- Remove everything from the sagging section and check the gap. With the wall empty, look along the top and bottom edges to see where the panel pulls away from the wall and whether any screws are loose, angled, or pulling out of drywall.
- Locate the studs and confirm anchoring. Use a stud finder to mark each stud behind the sagging area, then check that each mounting rail has a screw driven into every stud it crosses. If you find rails held only by drywall anchors, plan to add proper wood screws into the studs.
- Add support where the panel flexes. Try adding an additional screw through the panel’s designated mounting channel into the center stud, if the manufacturer provides one. Do not drill new holes through the decorative slat face, and follow the kit’s instructions for fastener type and placement.
- Reinstall and redistribute the load. Remount the panels so they sit flat against the wall without forcing them, then place heavier baskets and bins directly over stud-anchored sections and keep lighter hooks in between. Spreading weight across more hooks reduces the leverage that causes sag.
- Reseat all hooks and baskets correctly. Tilt the accessory bracket into the groove, rotate it down until it locks, and give it a gentle tug to confirm it is seated. An accessory that is not fully locked can lever the slat outward and make a flat panel look like it is sagging.
When to Consider Replacing It
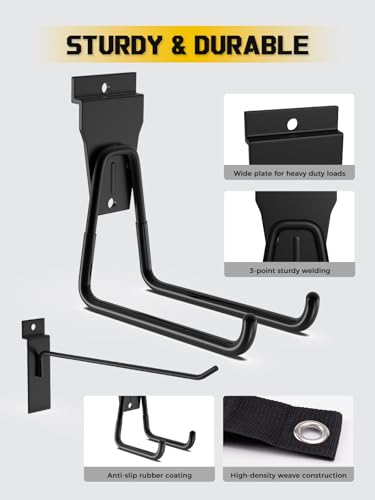
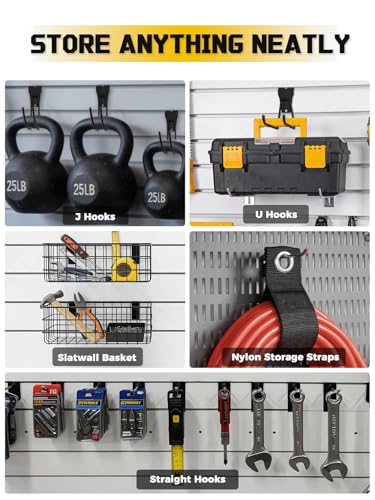
If the panel stays bowed even when empty, the groove edges are cracked or stripped, or screws no longer bite into the wall after you have tried re-anchoring into studs, repair may not hold long term. Warped PVC, split mounting channels, or bent internal supports often keep flexing once they have been stressed. In that case, if you would rather replace the accessories than keep troubleshooting a damaged starter set, one practical option to evaluate is the AZUNO 32Pcs Slatwall Accessories Set with 4, which is designed to fit standard slatwall grooves and let you reorganize weight with multiple hook sizes and baskets.
This article contains affiliate links. If you buy through one of our links, TheGarageCrafted may earn a commission at no extra cost to you. Commissions never influence which products we recommend or how we rank them. Read our Affiliate Disclosure for details.

Prime AZUNO 32-Piece Slatwall Accessories Kit with 4


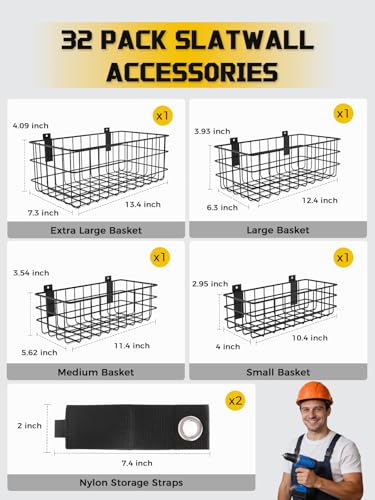
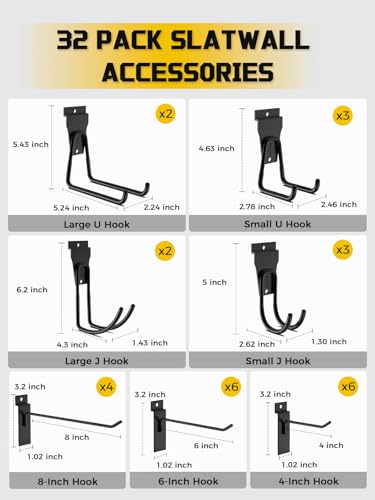
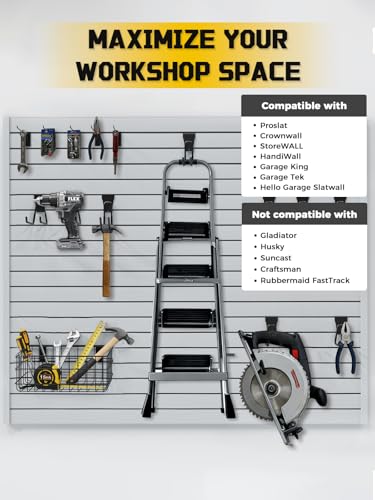
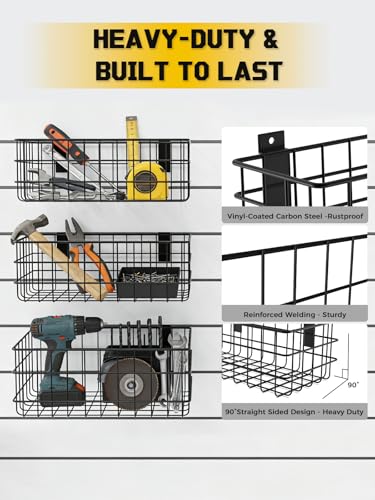
As an Amazon Associate we earn from qualifying purchases. Product prices and availability are accurate as of the date/time indicated.
When to Skip This and Call a Professional
This type of DIY re-anchoring is not ideal for walls where you cannot find solid studs, for masonry or concrete walls that need special anchors, or for panels that are pulling away with damaged drywall behind them. If the wall feels soft, crumbles, or the sag is caused by water damage, or if you need to add new electrical for garage lighting near the slatwall, skip this and contact a qualified contractor or licensed electrician. Always follow the manufacturer’s weight capacity and wall-anchoring instructions and do not overload a starter kit beyond what it is rated to hold.
Frequently Asked Questions
Why does my slatwall sag in the middle even with light items?
That usually points to missing center support. If the middle of the panel is not screwed into a stud, even light baskets can create a bow over time. Try checking stud locations and ensuring each rail is fastened at every stud it crosses, then keep heavier items closer to those anchor points.
Can I fix a sagging slatwall without taking it completely off the wall?
You can often try with the panels still mounted by unloading them and adding a center screw into a stud through the proper mounting channel. If the panel is severely warped or the mounting holes are stripped, you will get a flatter result by removing it, inspecting the wall, and reinstalling it correctly. For low-clearance spaces, best slatwall panels for low ceilings has options that may fit better.
How do I keep hooks and baskets from making the sag worse?
Use more hooks to share the load and avoid hanging one heavy item on a single hook between studs. Make sure each accessory is fully locked into the groove, and place the heaviest bins or baskets where the panel is directly backed by a stud. Regularly check that accessories remain seated and that no single section is carrying most of the weight.
Browse more picks in our Slatwall System category, or see our related guide on NewAge Slatwall Alternatives.





Write Your Review
No reviews yet. Be the first to share your experience!