

Quick Answer
If your weight bench pad ripped at the seam within a year, the most likely cause is repeated shear stress on edge stitching combined with sweat and garage heat softening the vinyl. Stop pressing on the open split, trim only loose frays, and cover it with smooth tape to keep sweat and dust out of the foam. You can often stabilize a short split with flexible vinyl adhesive or a careful hand stitch, then adjust sliding, cleaning, and storage habits to slow further tearing and keep the pad usable longer.
Check that a bench's locking mechanism is fully engaged before every set, follow the manufacturer's assembly instructions, and never exceed its stated weight capacity.
Why This Happens
You put a lot of sideways force on that seam every session, especially when you plant your feet and drive up while your upper back slides slightly and pulls the piping sideways. When you shift for incline work or pull dumbbells across the surface, the edge stitches absorb that drag. Over months, needle holes stretch and one popped thread overloads its neighbors until the seam runs.
Sweat and garage air weaken the materials around those stitches, since salt, body oil, sunscreen, and strong cleaners dry out vinyl and make thread brittle while heat keeps the cover stretched tight over foam. Damp air adds another cycle of swelling and drying that loosens seams over time, a pattern also seen with other gear described in this humid garage storage guide. If your bench sits near an open door, sun and overnight condensation age the cover even faster.
Build details matter as well, because many home benches use fairly thin vinyl folded tightly over firm foam with staples hidden underneath, so the seam allowance carries constant tension. A sharp foam edge or a narrow fold leaves little material to hold stitches under load. Storing the bench on end, leaning plates against the pad, or parking it in sun by the door, a placement issue noted in this rust near the garage door guide, creases the vinyl right where it is already strained.
Daily habits often finish the damage, from kneeling on the pad and standing it on the pad end to pet claws and scrubbing with bleach and abrasive pads that nick the coating and fray thread. Once one stitch breaks, the load shifts and the split grows with each press. That is why a small fray you notice in early months can become a long opening later if you keep lifting on it without a cover.
Fixes to Try
- Pause heavy pressing and inspect the full seam in good light. Look for loose threads, foam crumbs, or raised staples, snip only frayed ends with small scissors, then wipe with a damp cloth and mild soap and allow the area to dry fully before you apply any adhesive or needlework.
- Stabilize a short split with flexible vinyl adhesive made for upholstery and marine fabrics. Work a thin line under both edges, press the seam closed with your fingers, then bridge it with painter’s tape placed across the seam and allow the bond to fully set before you add load.
- Sew a longer clean split with a curved upholstery needle and bonded nylon thread that matches the original color. Follow the original needle holes with small even stitches, knot underneath the cover, and add a tiny dab of flexible seam sealer to the knot to help limit unraveling during future presses.
- Lower friction on the repair while you lift. Lay a smooth non-slip bench cover or clean gym towel over the area, set your upper back without sliding your traps, and hand dumbbells up clear of the pad instead of dragging the handles across the edge piping.
- Reset cleaning and storage to protect the remaining seams for 2026. Wipe sweat after each session with a damp cloth, avoid bleach and stiff brushes, store the bench flat and covered away from sun and heaters, and browse the Weight Benches and Compact Equipment section for low wear setup ideas.
When to Consider Replacing It
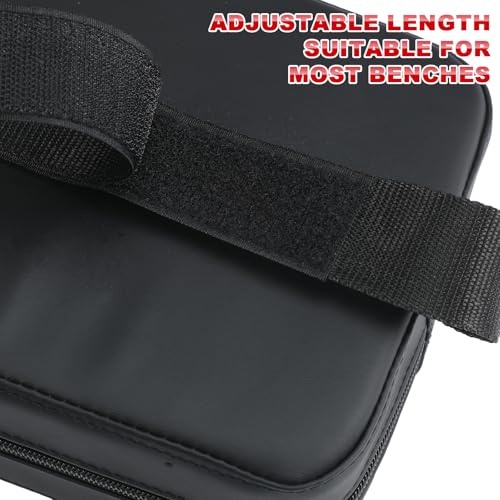
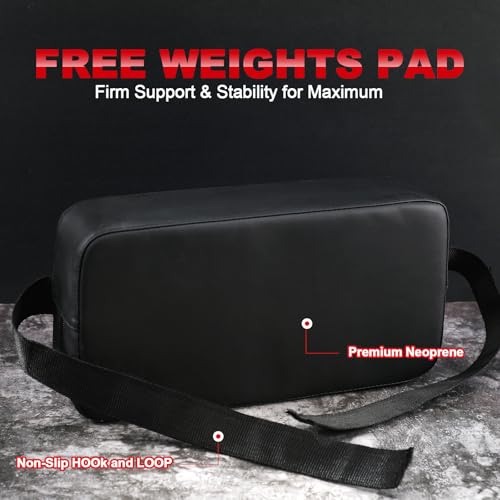
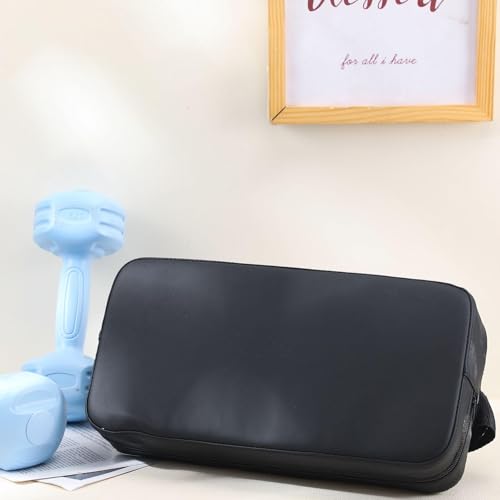
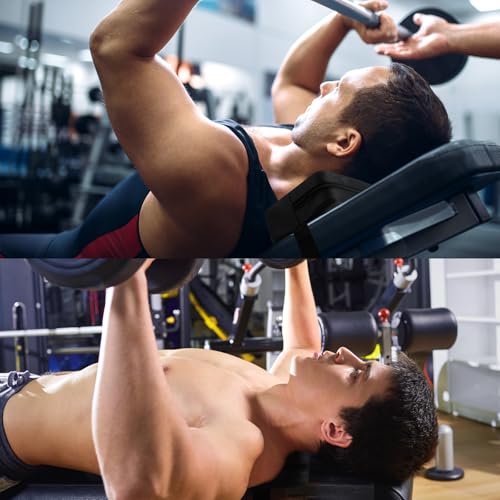
Consider moving on when foam is exposed, crumbling, or soaking up sweat, when the split keeps growing past a few inches, when several seams are opening at once, or when you feel staples or hard backing through the cover. Patching can slow surface wear, but it cannot rebuild crushed foam or re-anchor stitching all around a tired pad. If you would rather add a fresh contact surface than keep stitching, a strap-on cover can work as a practical bridge while you plan a full pad swap:
This article contains affiliate links. If you buy through one of our links, TheGarageCrafted may earn a commission at no extra cost to you. Commissions never influence which products we recommend or how we rank them. Read our Affiliate Disclosure for details.
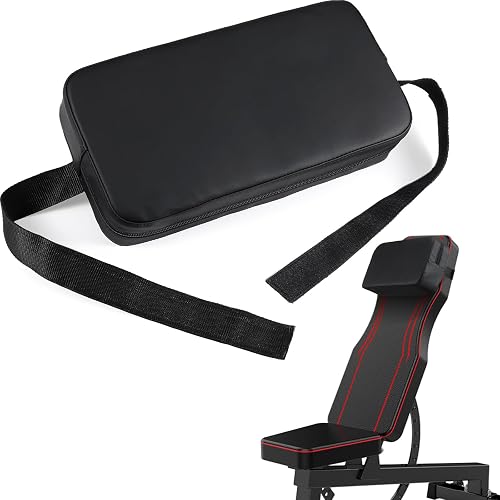
Prime Simgoing Bench Press Back Pad
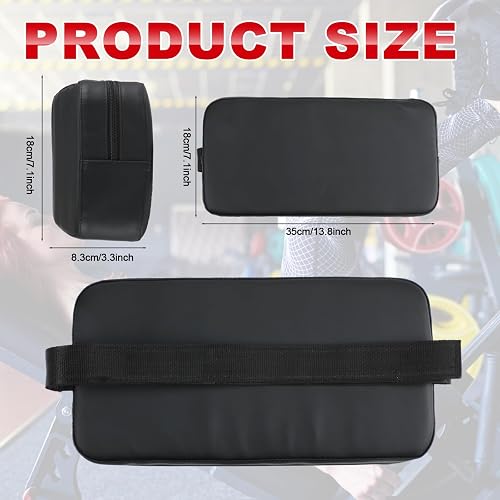
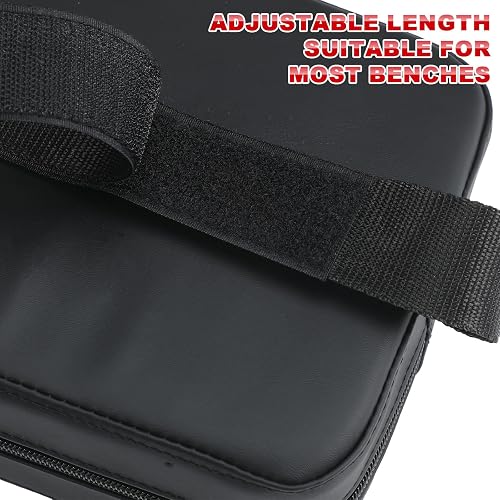


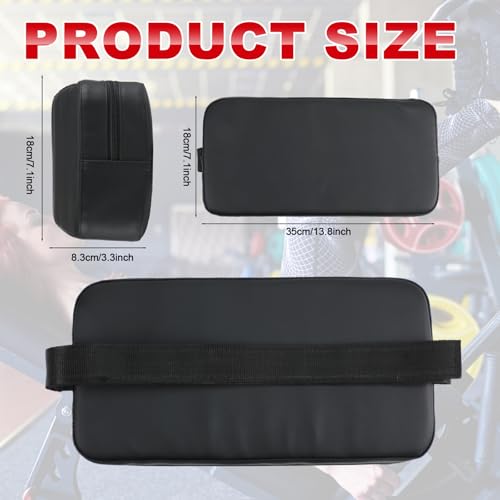
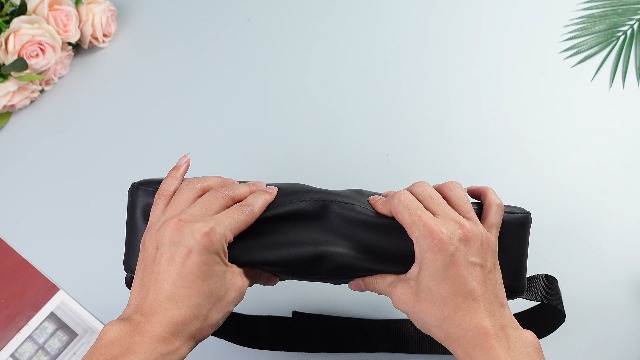
As an Amazon Associate we earn from qualifying purchases. Product prices and availability are accurate as of the date/time indicated.
When to Skip This and Call a Professional
This type of vinyl repair is not ideal for any bench that wobbles, rocks under load, shows cracked welds or bent legs, or has a loose back adjustment that slips. A torn cover can hide shifted foam that changes your balance, and stitching will not correct a frame or hardware issue. Skip this fix for now, stop lifting on that bench, and contact the maker or a qualified repair shop for guidance on safe frame, hardware, and pad replacement.
Frequently Asked Questions
Can I still lift on a bench pad with a ripped seam?
You can do very light movement if the foam feels firm and no sharp edges show, but heavy pressing tends to widen the split and lets sweat soak in. Cover the area with a smooth cover and keep loads modest until you complete a repair. If the pad feels uneven, dips, or shifts under you, pause bench work entirely until the surface is stable.
Will warranty cover a weight bench pad ripped at the seam within a year?
It depends on the brand, since many warranties separate frame coverage from upholstery wear linked to sweat, sun, and cleaning. Save order details and clear photos of the full seam, then ask support about a replacement pad or approved repair path for 2026. Polite, specific notes about normal home use and care often help you get a clearer answer.
How do I keep a new or repaired pad from splitting again?
Focus on less shear and less moisture. Wipe the pad after every session, use a cover for high friction sets, lift weights clear of the edges, and store the bench flat and covered away from heaters and direct sun. Set your position without dragging your shoulders and avoid kneeling on the pad, which keeps edge stitching under far less strain.






Write Your Review
No reviews yet. Be the first to share your experience!