

Quick Answer
If you have stripped nozzle threads when swapping, stop turning right away and let the hotend cool completely before you inspect it. The most common cause is starting the nozzle at a slight angle or forcing it while old plastic is still locked inside the heater block, which deforms the soft brass and aluminum threads. A careful cleanup plus a fresh nozzle started gently by hand often turns smoothly, and that easy hand start is your best early sign the block may still be usable.
Why This Happens
Printer threads are tiny, fine pitch, and made from soft metals that mark very easily. Most nozzles are brass and many heater blocks are aluminum, so even a small amount of grit, carbon, or side pressure can flatten the thread peaks. That is why one rushed swap with the wrench tilted can leave every future nozzle feeling rough, crunchy, or loose.
Cold removal and installation cause a lot of damage in home shops. Leftover filament hardens inside the block and grips the nozzle like adhesive, so forcing it cold tears metal instead of softening plastic free. Heating the hotend to normal printing range for removal and for the final snug softens that residue and lowers the force placed on the delicate threads.
Cross threading from a rushed start is another frequent culprit you can feel right away. If the nozzle is not perfectly straight, the first turn cuts across the existing grooves and shaves off fine metal flakes that look like shiny dust on the threads. Holding the heater block steady and turning the nozzle backward slightly until it drops into place helps you feel correct alignment before you apply any real tightening force.
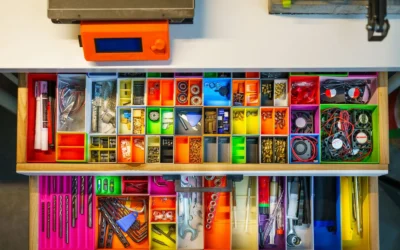
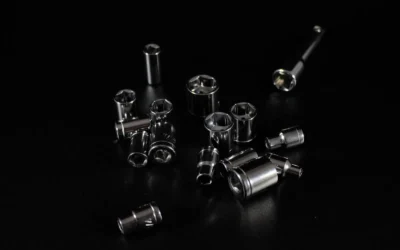
Over tightening and poor nozzle storage finish the job over time. Cranking down hard with a long wrench or gripping the nozzle flats with pliers does not improve sealing, it stretches soft threads and can twist the heat break. Keeping spare nozzles clean, dry, and sorted helps too, much like using a small parts organizer that keeps fasteners sorted prevents you from grabbing a dirty or wrong size nozzle in a hurry.
Fixes to Try
- Power down, cool fully, then clean and inspect under bright light. Brush loose plastic and metal flakes from the block opening with a soft brass brush and wooden pick, and look closely for flattened, shiny, or missing thread sections.
- Try a fresh, correct nozzle by hand with the hotend cool and power off. Turn it counterclockwise about half a turn until you feel it settle into the thread start, then turn clockwise with fingertips only until it should spin freely for several full turns.
- If it binds early, back it out, reclean, and realign rather than forcing it forward. A tiny piece of carbon or a slightly tilted start often causes that early jam, and one more patient attempt with the block held square will often feel dramatically smoother.
- Once hand tight, heat to normal printing range and give it a final gentle snug while supporting the block. Hold the heater block steady with a second wrench so you do not twist the heat break or wiring, then snug the hot nozzle just enough to seal using fingertip pressure rather than arm strength.
- Purge a small amount of filament and watch closely for leaks around the top of the block. If you see oozing above the nozzle shoulder, wobble at the tip, or continuous spinning without ever getting snug, cool down and stop, as those signs point to loss of thread seal.
When to Consider Replacing It
If a new nozzle will not catch straight by hand, spins freely without ever getting snug, or still leaks after two careful clean and heat cycles, the heater block threads are likely too worn to trust for 2026 printing. Replacing the block or complete hotend is usually faster and more reliable than trying to rebuild tiny aluminum threads. If you would rather replace than keep troubleshooting, keep spares dust free in a setup like garage cabinets for a 2 car garage and have a general insert option on hand for larger workshop fasteners.
This article contains affiliate links. If you buy through one of our links, TheGarageCrafted may earn a commission at no extra cost to you. Commissions never influence which products we recommend or how we rank them. Read our Affiliate Disclosure for details.

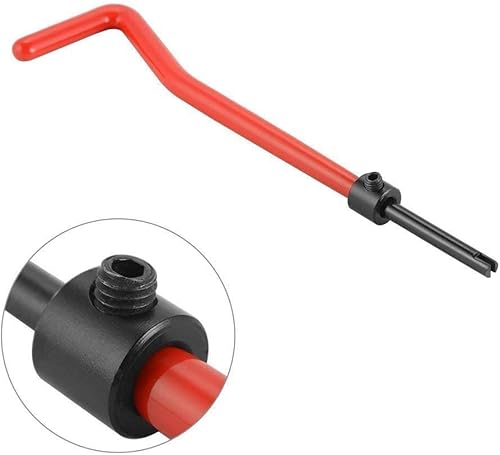
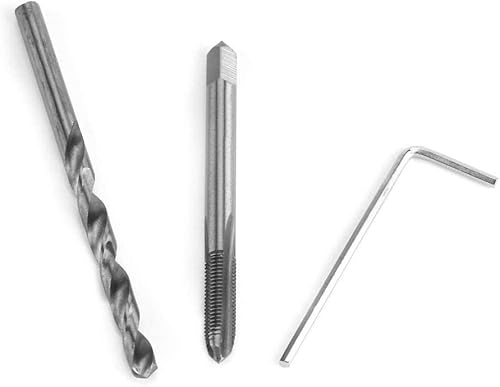
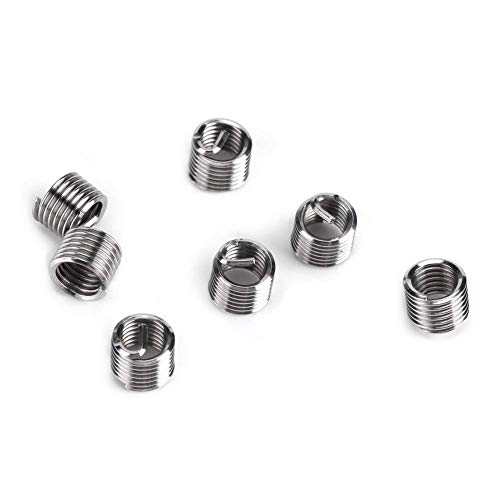
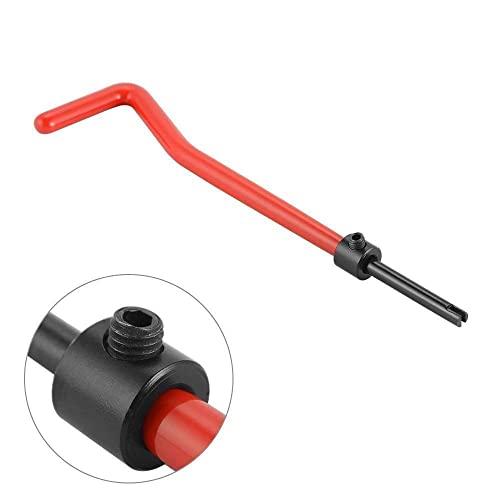
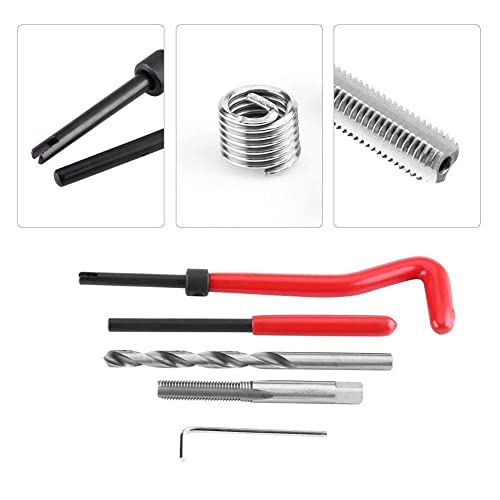
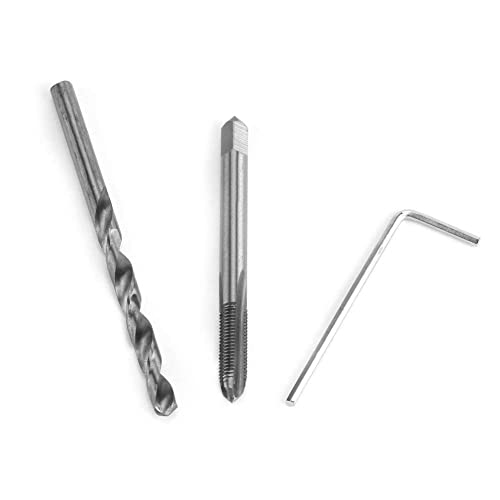
Prime JoyTube 1/4-20 Thread Repair Kit


As an Amazon Associate we earn from qualifying purchases. Product prices and availability are accurate as of the date/time indicated.
When to Skip This and Call a Professional
Basic nozzle cleaning and careful hand starts are fine for most users, but this approach is not recommended for damaged wiring, burnt connectors, smoke smells, or a heater block that moves on the heat break. Skip this DIY and contact the printer maker or a qualified repair shop if you see bare wires, cracked heater cartridges, or persistent thermal errors. Reworking wiring or drilling out a broken nozzle with power tools isn’t ideal and can create burn or electrical hazards.
Frequently Asked Questions
Can I keep printing if stripped nozzle threads when swapping still feel a little loose?
You can sometimes finish a small print if the nozzle seals without leaking, but a loose fit often leads to oozing, blobs, and clogs under pressure. Check closely for plastic seeping above the block or soot around the threads. Plan to replace the nozzle or block soon if you see any leakage or wobble.
Why does my new nozzle stop halfway and get tight?
One common cause is hardened plastic or carbon packed in the upper block threads that narrows the path. Try removing the nozzle, warming briefly to soften residue, cleaning gently with a soft brush, then restarting the cool nozzle by hand. It should turn freely for several rotations before you apply heat for the final snug.
How do I prevent stripped nozzle threads when swapping next time?
Start every nozzle by hand with power off, support the block to avoid side load, and only do the final snug while hot. Use a fresh, clean nozzle of the correct thread type, avoid pliers on the threads, and store spares capped and separated so grit does not carry into the block on the next change.
Browse more picks in our 3D Printer Nozzles & Maintenance Parts category.

Write Your Review
No reviews yet. Be the first to share your experience!