
Quick Answer
If your nozzle is leaking filament from the side, the most likely cause is a small gap inside the heater block where the nozzle should press firmly against the heat break. Molten plastic squeezes through that gap when hot and bubbles out around the threads or above the nozzle hex. Let the hotend cool, clean away loose plastic, then reheat to your normal printing temperature and gently confirm the nozzle is snug following your printer maker guidance.
Why This Happens
Your nozzle does not seal against the outside of the heater block. It seals inside the block where the flat top of the nozzle meets the flat end of the heat break. If those two faces do not press together fully, you will see a nozzle leaking filament from the side during heat up or during the first layer.
One common cause is tightening the nozzle while fully cold. Metal expands as it warms, so a nozzle that feels tight at room temperature can loosen just enough when fully heated to open a leak path. That is why many printer makers describe a final gentle snug while at printing temperature, using proper wrenches and careful protection against burns.
Another common cause is assembly order. If the nozzle is threaded in until it bottoms out hard on the heater block, it cannot reach the heat break to form a seal. You want a small visible space between the nozzle shoulder and the block so clamping force goes into the internal joint. Old baked plastic, debris on the sealing faces, or a Bowden tube that is not cut square and pushed fully down can also hold that joint open.
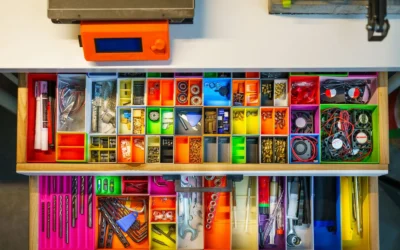
Wear makes a seal harder to hold. Nicked threads, a heat break face coated in carbonized residue, or a block caked in old drips will not close cleanly. Keeping spare nozzles, socks, and small brass brushes sorted in one place, like the setup shown in this small parts organizer comparison, helps you avoid grabbing a damaged nozzle in a rush.
Fixes to Try
- Power down, let the hotend cool fully, then remove the silicone sock and pick away loose blobs with tweezers and a soft brass brush. Try a close visual check first to confirm plastic is coming from above the nozzle hex rather than dripping down from the tip.
- Heat to your normal filament printing temperature and watch closely to confirm where the ooze starts. If plastic bubbles from the threads or the top edge of the hex, stop the print and let everything cool again before you touch any metal parts.
- With the hotend reheated to printing temperature, hold the heater block steady with the correct wrench and gently confirm the nozzle is snug. Do not twist the whole hotend, do not force the threads, and follow your printer maker guidance for grip and turning direction.
- If leaking continues, cool down, take the nozzle out, and clean the block threads, nozzle shoulder, and heat break face until bare metal shows. Reassemble so the nozzle seals to the heat break with a small space left at the shoulder, reseat any PTFE tube flat and fully, then warm up and recheck snugness with care.
- Run a short check print and watch the first layers for clean lines with no new blobs forming around the block. If plastic returns right away, stop and clean again rather than letting it bake on, and keep cleaning sticks and tools together in one labeled tote like in this guide to organizing clear storage bins.
When to Consider Replacing It
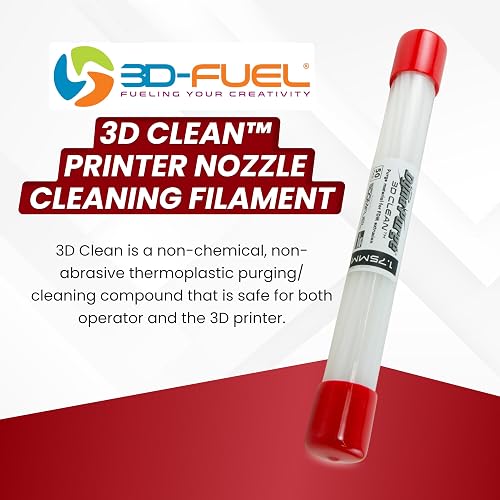
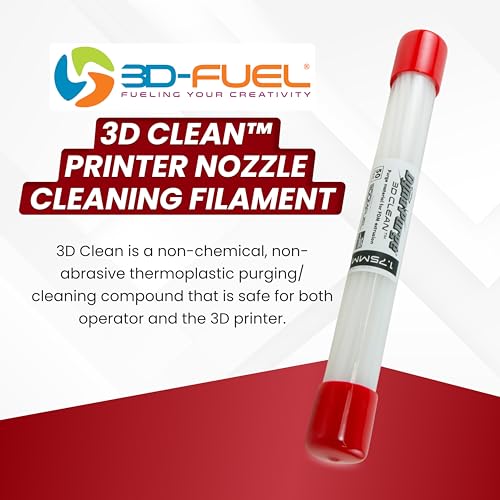
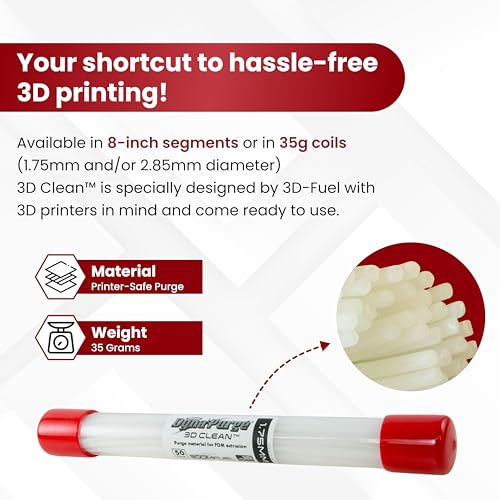
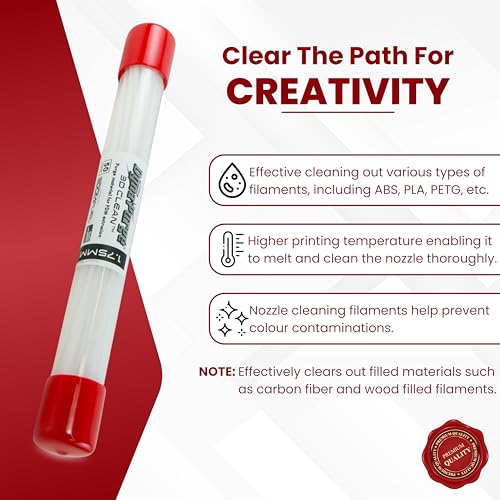
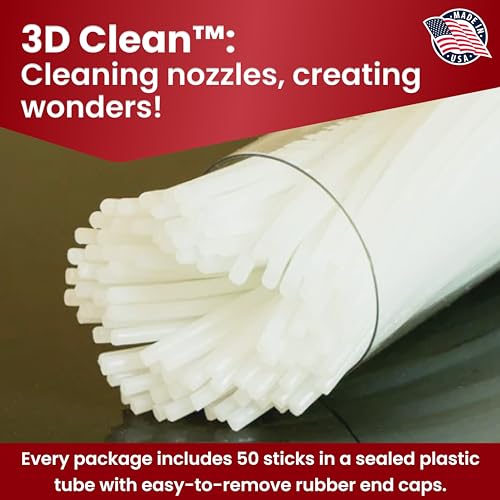
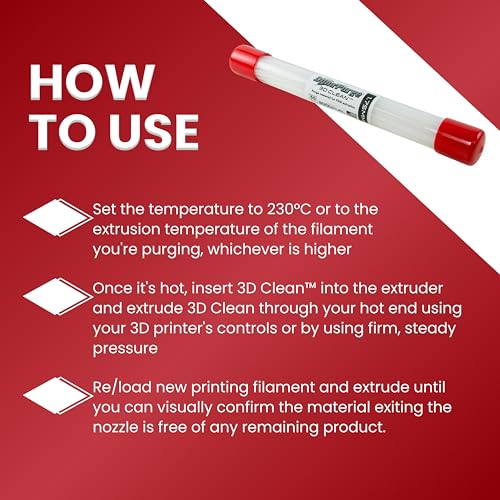
If you have a nozzle leaking filament from the side after two careful cleans and reseats, check for flattened threads, a rounded hex, a pitted sealing face, or a heater block with stripped threads. When metal faces no longer meet cleanly, continued tightening only risks more damage. If you would rather refresh your routine than keep troubleshooting, a purge filament can help clear leftover residue after a reseat or nozzle swap in 2026.
This article contains affiliate links. If you buy through one of our links, TheGarageCrafted may earn a commission at no extra cost to you. Commissions never influence which products we recommend or how we rank them. Read our Affiliate Disclosure for details.

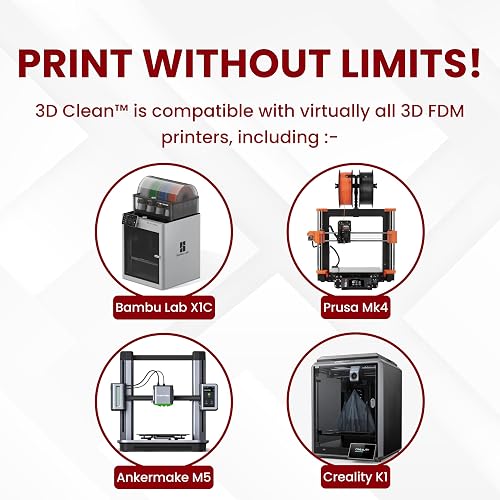
Prime 3D-Fuel 3D Clean Purging Filament 1.75mm 8-Inch




As an Amazon Associate we earn from qualifying purchases. Product prices and availability are accurate as of the date/time indicated.
When to Skip This and Call a Professional
Hotend work involves very hot metal and delicate wiring, so this repair is not recommended for any printer with frayed heater wires, a loose thermistor, a cracked heater block, or a burnt connector smell. If threads feel crunchy, the block spins freely, or plastic has flooded the wiring, skip this fix, power down and unplug the machine, and contact the printer maker or a qualified repair service for help.
Frequently Asked Questions
Why is my nozzle leaking filament from the side right after I changed it?
A fresh swap often leaves a nozzle leaking filament from the side because the nozzle seated against the block instead of the heat break, or it was only tightened cold. Try cleaning the joint, leaving a small shoulder gap, reseating any tube fully, and doing a final gentle snug at printing temperature per your maker guidance.
Can I just tighten more to stop a nozzle leaking filament from the side?
More force is rarely the answer and one common cause of stripped threads is overtightening a cold nozzle. Try cleaning the sealing faces and confirming a light snug fit when hot instead. If the hex is rounding or threads feel rough, replace the nozzle rather than forcing it tighter.
How do I clean plastic off the heater block after a nozzle leaking filament from the side?
Let the block cool, remove the sock, then warm to your normal printing temperature only for softening surface residue. Try wiping with a dry brass brush and tweezers while holding the block steady, then cool fully before reassembly. Avoid sharp picks around wires and avoid soaking electrical parts in solvents.
Browse more picks in our 3D Printer Nozzles & Maintenance Parts category.
Write Your Review
No reviews yet. Be the first to share your experience!