

Quick Answer
If your power tool storage rack is sagging, the most common reason is that it is not anchored into wall studs or the weight is concentrated too far from the wall. Remove all tools, check that the mounting screws are hitting solid studs, tighten every frame connection, and then reload heavier tools closest to the wall. This simple unload, tighten, and rebalance process often corrects the sag without needing a new rack.
Why This Happens
A sagging rack usually starts at the wall connection. Many garage walls are drywall over studs, and screws driven only into drywall will slowly pull down under the weight of drills, batteries, and chargers. Even if it felt solid at first, the anchors can loosen over time and let the top tilt forward, which looks like sagging.
Weight distribution is the other major cause. Power tools are dense and heavy for their size, and placing several drills, drivers, and battery packs on the outer edge of a shelf creates leverage that bends the frame. If you store chargers, batteries, and larger tools all on one side, that side will dip first. You can see how different designs handle heavy loads in this guide to best drill holder wall mounts for heavy totes which shows why balanced loading matters.
Loose assembly hardware also contributes. Most metal power tool organizers use multiple screws and brackets to connect shelves, side panels, and drill holders. Vibration from opening and closing the garage, plus repeated lifting of tools, can back those screws out a little. Once one joint is loose, the whole assembly can flex and the shelves no longer stay level.
Wall type and installation details play a role too. Concrete, brick, and plaster walls need different anchors than wood studs, and using the wrong anchor can let the rack settle. Humidity and temperature changes in a garage can also cause wood studs to expand and contract slightly, which may loosen screws over months. If your rack was mounted with short screws or plastic anchors not rated for the load, sagging is more likely.
Fixes to Try
- Unload everything and inspect the frame. Take all tools, batteries, and chargers off the rack so you can see where it bends. Check each shelf, weld, and screw joint for looseness, bending, or cracks, and note whether the sag is in the shelf itself or where the rack meets the wall.
- Confirm you are anchored into studs or proper masonry anchors. Use a stud finder to locate studs and verify the mounting screws are centered on them. For concrete or block, you need concrete anchors rated for wall storage, not just drywall anchors, as explained in concrete wall tool storage. If the screws spin or feel soft, try moving the mount to hit studs or install anchors suited to your wall type.
- Tighten and reinforce the assembly. With the rack empty, go over every screw, bolt, and bracket with a screwdriver and snug them evenly. Do not over tighten to the point of stripping, but make sure there is no wobble at any joint. If your model has cross braces or support bars, make sure they are fully seated.
- Reinstall level and rebalance the load. Remount the rack using a level to keep it even, and follow the manufacturer instructions for screw size and spacing. When reloading, place the heaviest drills and battery packs closest to the wall and over the vertical supports, and keep lighter accessories and bits toward the front or on side hooks.
- Reduce overall load if needed. If the rack still dips after tightening and re-anchoring, you may be storing more weight than the design is intended to hold. Try removing one or two heavy items and storing them on a separate shelf or cabinet, and check the manufacturer weight guidance before adding more tools back.
When to Consider Replacing It
If the metal itself is visibly bent, cracked at a weld, or the mounting holes are stripped and will no longer hold a screw, repair may not restore a level hold. The same is true if the rack sags again right after you have re-anchored it into studs and redistributed the weight. At that point, replacing it with a solid metal design that matches your wall type and load can save repeated adjustments. If you would rather replace it than keep troubleshooting, one practical option to consider is the solid metal wall mounted style.
This article contains affiliate links. If you buy through one of our links, TheGarageCrafted may earn a commission at no extra cost to you. Commissions never influence which products we recommend or how we rank them. Read our Affiliate Disclosure for details.

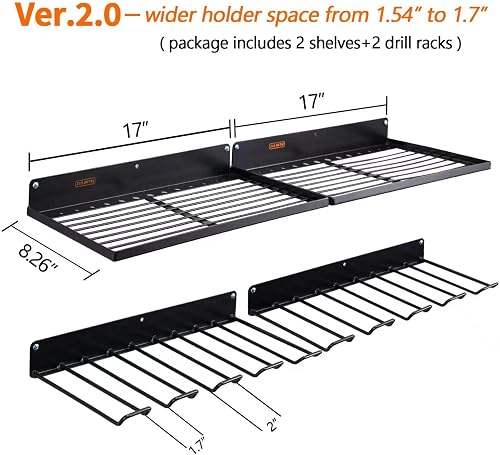
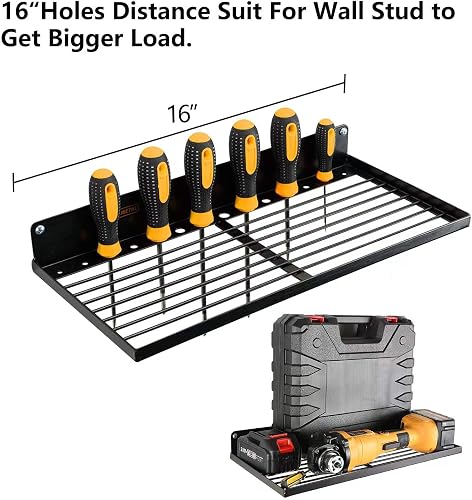
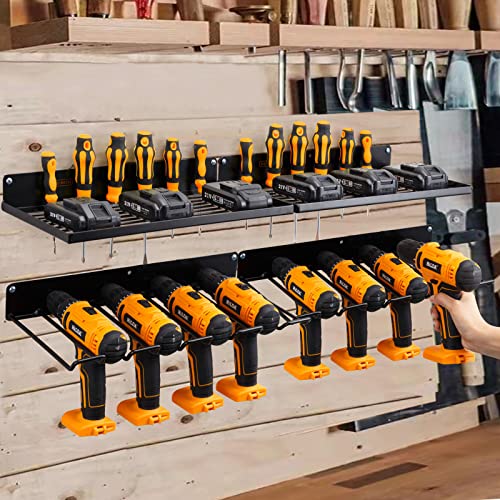
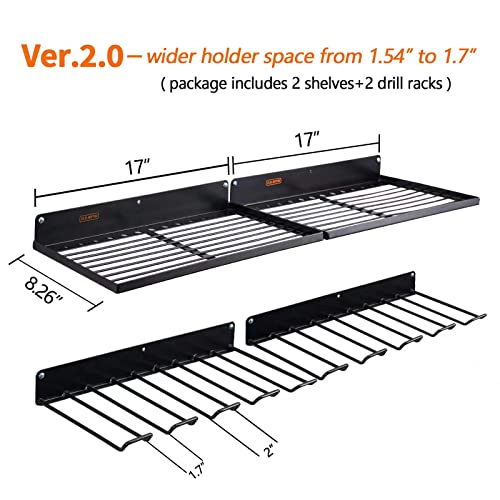
Prime UU-Major Power Tool Organizer Wall Mount



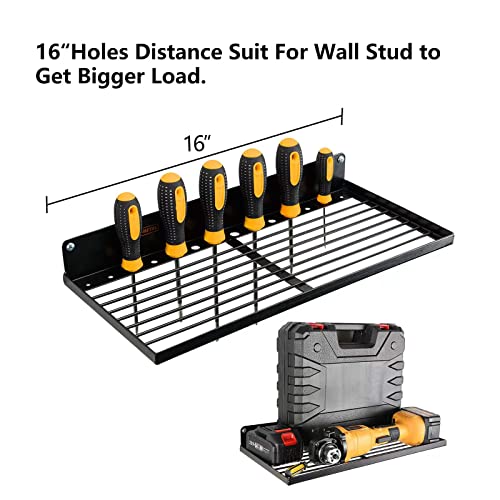
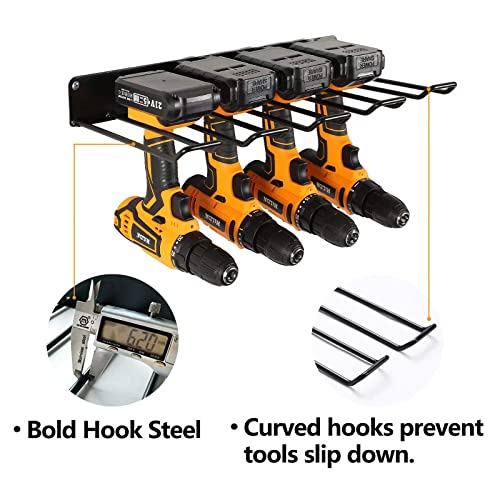
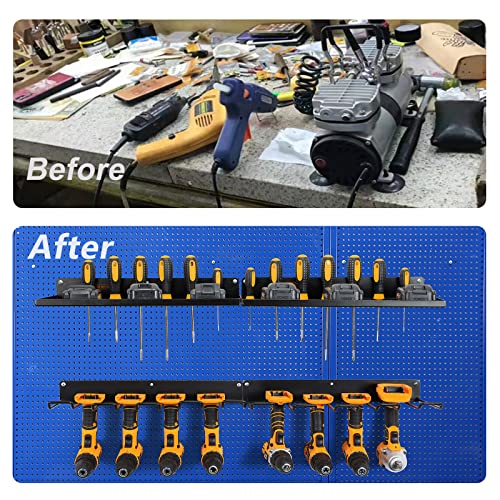
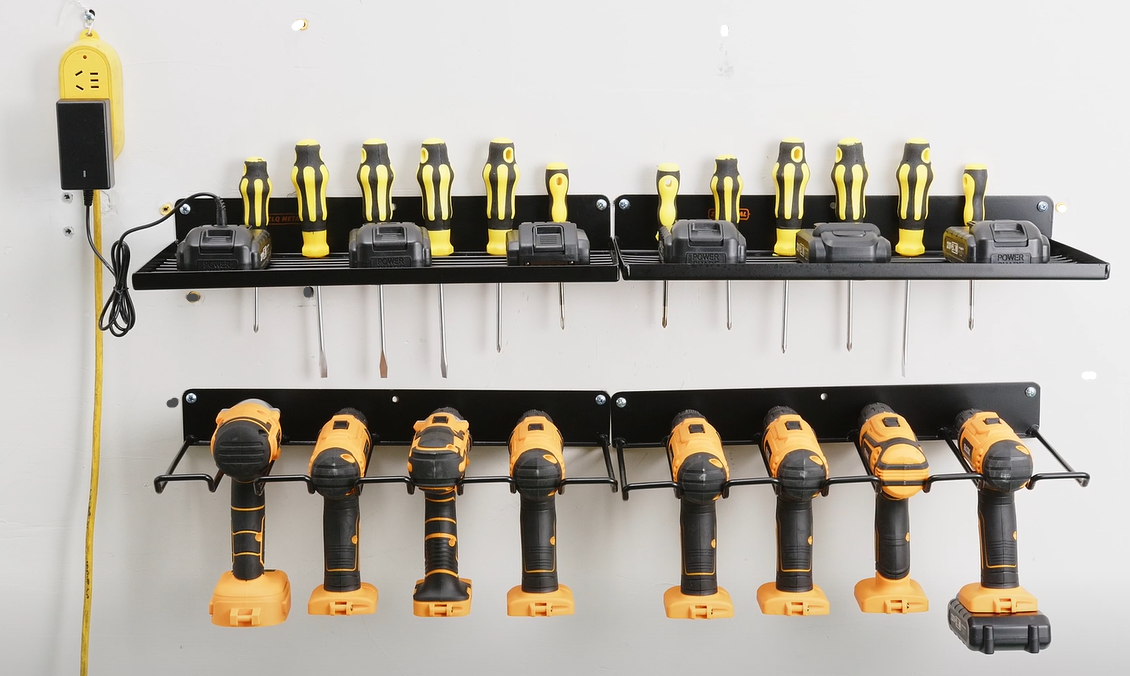
As an Amazon Associate we earn from qualifying purchases. Product prices and availability are accurate as of the date/time indicated.
You can also compare other wall mounted layouts to find a better fit for your collection, such as the options reviewed in wall control pegboard organizer 4 ft. metal review, especially if you need more slots or a different shelf height.
When to Skip This and Call a Professional
This type of fix is not ideal for racks that hold a built in power strip or charging station where wiring looks damaged, or where the rack is heavily loaded and pulling away from the wall with crumbling drywall or cracked masonry. For tall, heavily loaded shelving or any wall mounted organizer, always follow the manufacturer weight capacity and wall anchoring instructions and anchor the unit to prevent tip or fall hazards, and if you have concerns about electrical connections, overloaded circuits, or structural wall damage, skip this DIY approach and consult a licensed electrician or qualified contractor. This is not a good fit for overhead or ceiling mounted storage that shows signs of structural failure.
Frequently Asked Questions
Why is my power tool storage rack sagging even though the screws feel tight?
The screws may feel tight but still be anchored only in drywall, which can flex under load and create a forward tilt that looks like sagging. Try confirming the screws are centered in studs or using proper masonry anchors, and check if internal frame screws elsewhere on the rack have loosened.
Can I fix fixing sagging power tool storage rack without drilling new holes?
Sometimes you can improve it by unloading the rack, tightening all frame hardware, and reloading with better weight distribution. If the original holes are not in studs or the anchors are not rated for your wall type, however, you will likely need to drill new holes in the correct locations to get a stable, level hold.
How do I prevent my power tool organizer from sagging again?
Keep the heaviest items closest to the wall and centered over supports, avoid concentrating all weight on one shelf or one side, and periodically check and snug the assembly screws. Also verify your total load stays within the manufacturer guidance for your specific model and wall type, and avoid hanging extra items from the front edge where leverage is greatest.
Browse more picks in our Power Tool Wall Mount Organizers category, or see our related guide on Best Drill Holder Wall Mounts for Heavy Totes: 10 Sturdy Picks 2026.






Write Your Review
No reviews yet. Be the first to share your experience!