

Quick Answer
If your wall mounted tool organizer screws stripping keeps happening, the most common cause is screws driven into drywall without the right anchors or a pilot hole that is too large. Drywall alone cannot grip threads under load, so the screws spin and pull out. Try removing the organizer, repairing the damaged holes, and reinstalling with proper wall anchors sized for your wall material and a correctly sized pilot hole without overtightening.
Why This Happens
Drywall is soft and crumbly, so screws threaded directly into it will strip out as soon as you add weight. Even a light hand tool organizer can work loose because the gypsum has little holding power and the paper surface tears easily. Without an anchor that spreads the load behind the wall, the threads have nothing solid to bite into, and daily vibration from opening and closing tools makes it worse.
An oversized or worn pilot hole is another frequent culprit. If the drill bit was slightly too large, or the screw was driven in and out multiple times, the hole becomes enlarged and the threads no longer engage. Overtightening is similar, it crushes the drywall and strips the channel you just created. You may feel the screw suddenly go loose and spin freely, which is a sign the material is no longer gripping.
Using the wrong anchor for your wall material also leads to stripping. Plastic expansion anchors that work in drywall will spin in concrete or block, while concrete sleeve anchors will not expand correctly in hollow drywall. If you are mounting to masonry, brick, or concrete, you need anchors rated for that surface and a hammer drill approach. For guidance on masonry surfaces, see best power tool organizer for concrete wall.
Weight and leverage make any weak installation fail faster. Tool organizers hold screwdrivers, pliers, and hammers that stick out from the wall, which creates pull-out force at the top screws. If the organizer is overloaded, unevenly loaded, or only secured at two points, the top fasteners bear most of the load and strip first. Humidity and repeated temperature changes in a garage can also soften drywall and loosen anchors over time.
Fixes to Try
- Remove the organizer and inspect the holes. Check if you hit a stud, if the drywall is crumbled, or if the anchor is spinning. Try to identify your wall type, drywall over studs, plaster, concrete, or block, so you can choose the correct repair method.
- Repair stripped drywall holes before reusing them. For small damage, try filling with a wall repair compound, letting it fully cure, then re-drilling a smaller pilot hole. For larger blowouts, switch to a toggle bolt or wing anchor that grips behind the wall instead of relying on the damaged hole.
- Choose the right anchor for the material. In drywall without a stud, try a self-drilling drywall anchor or toggle anchor rated for hollow walls. In concrete or block, try a plastic concrete anchor or sleeve anchor with the matching drill bit size. Always follow the anchor package instructions for drill size and depth.
- Drill a correct pilot hole and avoid overtightening. Try marking your drill bit with tape for depth, drilling straight and clean, then driving the screw until snug. Stop as soon as the organizer is firm against the wall, another quarter turn can strip soft material. A hand screwdriver gives you more control than a high torque drill for the final tightening.
- Re-mount into solid backing where possible. Try using a stud finder to locate studs and shift the organizer so at least one or two screws hit wood framing. If studs do not line up, try adding a horizontal French cleat or plywood backer board screwed into studs, then mount the organizer to that board for a much stronger hold. You can get more ideas for secure layouts from best tool wall mount for basement.
When to Consider Replacing It
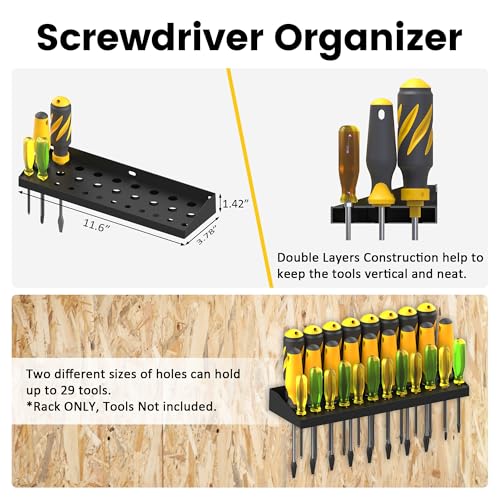
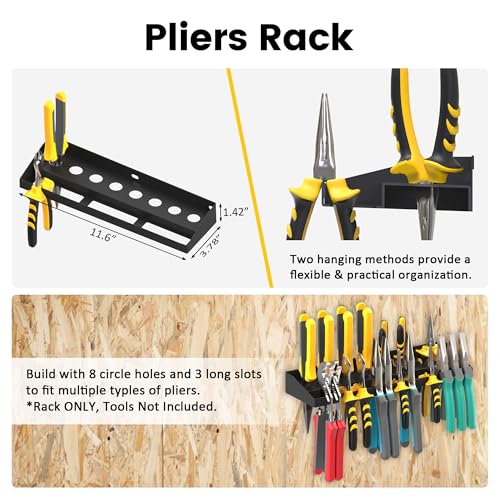
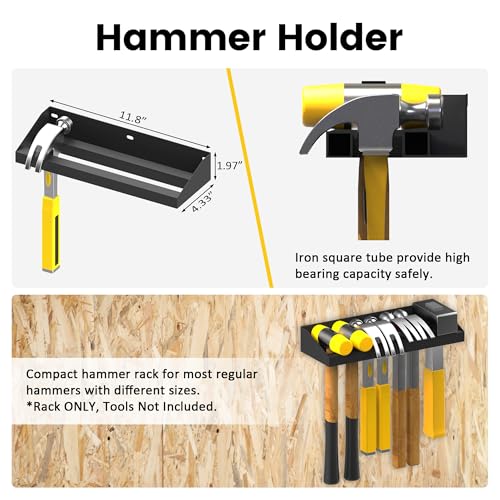
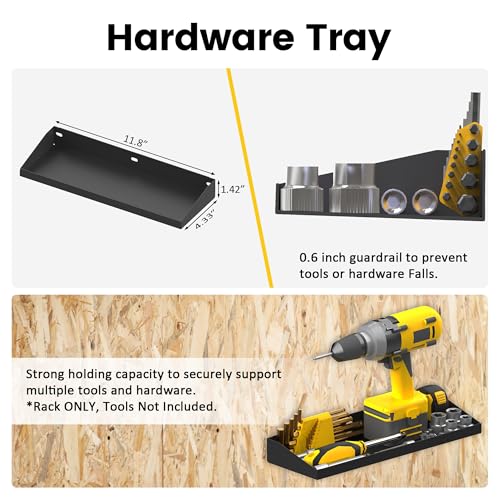
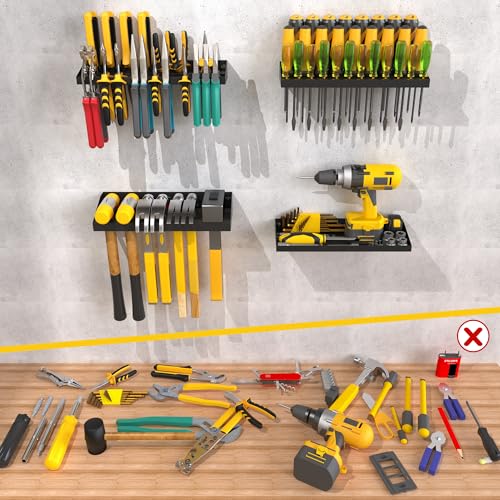
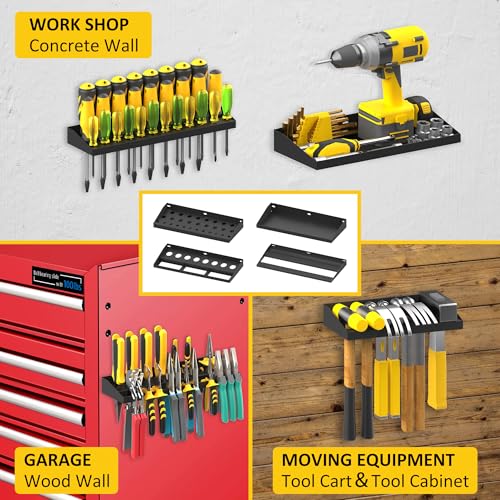
If the mounting holes on the organizer itself are elongated, the metal is bent from pulling away from the wall, or you have repaired the same drywall holes multiple times and they keep crumbling, repair may not be worth the effort. A new organizer with fresh mounting points and included hardware can save time and give you a cleaner installation. If you would rather replace it than keep troubleshooting stripped holes, one practical option to consider is the UNITEDPOWER Wall Mount Hand Tool Storage Set, which uses heavy metal construction with wall mount hardware and is designed for flat wall installation.
This article contains affiliate links. If you buy through one of our links, TheGarageCrafted may earn a commission at no extra cost to you. Commissions never influence which products we recommend or how we rank them. Read our Affiliate Disclosure for details.

Prime UNITEDPOWER 4-Pack Wall Mount Tool Organizer


As an Amazon Associate we earn from qualifying purchases. Product prices and availability are accurate as of the date/time indicated.
When to Skip This and Call a Professional
This type of repair is not ideal for situations where the wall is badly damaged, you suspect electrical wiring or plumbing behind the mounting location, or you need to support a heavy, heavily loaded organizer above a workspace. If the drywall is soft over a large area, the block or concrete is cracking, or you are unsure about finding studs and using the correct anchors, skip this and consult a qualified contractor or handyman. Always follow the manufacturer weight capacity and anchoring instructions, and never mount heavy loads with drywall-only screws.
Frequently Asked Questions
Why do my wall mounted tool organizer screws keep stripping even with plastic anchors?
One common cause is an anchor that is too small for the hole or the wrong type for the wall. If the pilot hole was drilled too large, the anchor spins instead of expanding, so it never grips. Try removing the anchor, repairing the hole, and reinstalling with the exact drill bit size listed on the anchor package, or switch to a toggle anchor for hollow drywall.
Can I fix stripped screw holes without moving the organizer to a new spot?
You can often repair in place, but try not to reuse a crumbled hole with the same screw and anchor. Try filling the hole with repair compound or using a larger diameter anchor that is still appropriate for the wall type, and allow full curing time before reloading. If the area is badly damaged, it is usually more reliable to shift the organizer a few inches to fresh material or mount a backer board into studs as described in low ceiling drill holder wall mounts.
What screws and anchors work best for a wall mounted tool organizer?
For drywall, try screws into studs where possible, otherwise use hollow-wall anchors like self-drilling anchors or toggle bolts that spread load behind the wall. For concrete, brick, or block, try concrete anchors with a matching masonry bit. In all cases, try to match the anchor to the wall material, drill the recommended pilot size, and avoid overtightening so the threads stay engaged.
Browse more picks in our Power Tool Wall Mount Organizers category, or see our related guide on Best Tool Wall Mount for Basement: 10 Organizers to Reclaim Space 2026.




Write Your Review
No reviews yet. Be the first to share your experience!