

Quick Answer
Fixing sagging tool wall panel organizer problems usually starts with unloading the panel and checking how it is anchored. The most common cause is screws driven only into drywall instead of wall studs, combined with too much weight on one side or on the top shelf. Remove your tools, confirm the anchors are tight and in solid wood or proper masonry anchors, then reinstall and rebalance the load.
Why This Happens
Most wall panels sag because the fasteners are not biting into solid structure. Drywall alone can hold light items, but a loaded tool organizer will slowly pull out, tilt forward at the top, or bow in the middle if it is not secured into studs or rated anchors. Over time you may see screw heads pulling through, gaps behind the panel, or hooks that no longer sit level.
Weight distribution is the second major factor. Many organizers are designed with tiers for drills, batteries, and hand tools, and when the heaviest items are all placed on one end or on the upper tier, the panel acts like a lever. That uneven load can flex thin metal pegboard, bend support rails, or loosen the top mounting points first, which is why the sag often appears at the center or top edge.
Wall and installation details also matter. Standard wood-framed walls have studs every 16 inches, so if your panel was centered between studs or installed with undersized plastic anchors, it will not stay rigid under daily use. In garages with concrete, block, or plaster walls, the wrong anchor type can slip or crumble, and concrete wall storage needs different hardware than drywall to stay flat and secure.
Finally, normal use loosens things. Vibration from opening and closing doors, repeatedly lifting drills on and off, and seasonal humidity changes can cause screws to back out slightly and metal to flex. If hooks are overloaded or accessories are added beyond the original layout, small movements compound until the whole panel looks uneven and tools no longer hang straight.
Fixes to Try
Work through these steps in order, starting with the safest and simplest. You will need a stud finder, level, drill, and the correct anchors for your wall type. Always follow the manufacturer weight capacity and anchoring instructions for your specific organizer.
If your setup uses a rail or pegboard system, reviewing a metal pegboard layout for small garages can give you ideas for balancing hooks and shelves before you remount.
- Unload the panel completely and inspect it. Take all tools off, then check for bent rails, elongated screw holes, or cracks in the wall around the anchors. Use a level to see where the sag is worst and mark the high and low points with painter’s tape.
- Find solid anchoring points. Use a stud finder to locate studs and mark their centers, or confirm the wall material if you have masonry or concrete. If your current screws missed the studs, plan new holes that line up with solid wood or use anchors rated for your wall type.
- Replace or upgrade the anchors. Remove loose plastic anchors, patch crumbled drywall if needed, and install lag screws into studs or sleeve anchors for concrete and block. Tighten until snug, then give a gentle tug to confirm the panel does not shift before reloading.
- Reinforce and rebalance the load. If the panel has a center support or rail, make sure it is also anchored, not just the ends. Move heavier drills and batteries closer to stud locations and toward the bottom tier, and keep lighter hand tools on the outer edges and top.
- Level, retighten, and recheck after a day. Set the panel with a level, tighten all fasteners evenly, and reload tools gradually. Check again after 24 hours of use, and retighten any hardware that has settled, as screws can seat slightly after the first load.
For rail-based systems, you may also be able to add a secondary support rail or reposition hooks so weight is shared across more studs. A look at how track-based wall systems distribute weight can help you decide if adding another rail section would reduce flex.
When to Consider Replacing It
If the panel itself is bent, welds are cracked, screw holes are stripped and enlarged, or the board stays bowed even when unloaded and properly anchored, repair may not hold. Repeated sagging after you have moved anchors into studs and balanced the load is also a sign the material is fatigued or the design is not ideal for the weight you need to store. At that point, replacing with a sturdier, properly rated system often saves time and prevents wall damage.
This article contains affiliate links. If you buy through one of our links, TheGarageCrafted may earn a commission at no extra cost to you. Commissions never influence which products we recommend or how we rank them. Read our Affiliate Disclosure for details.

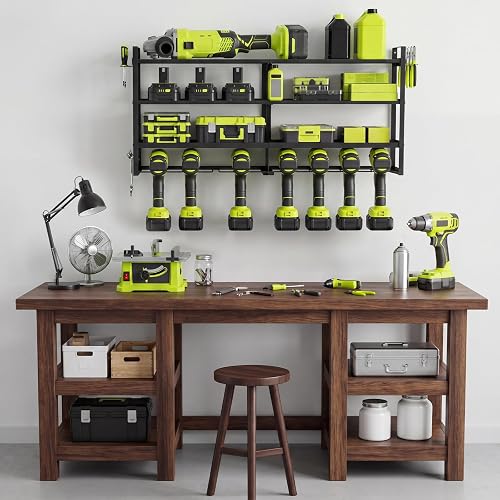
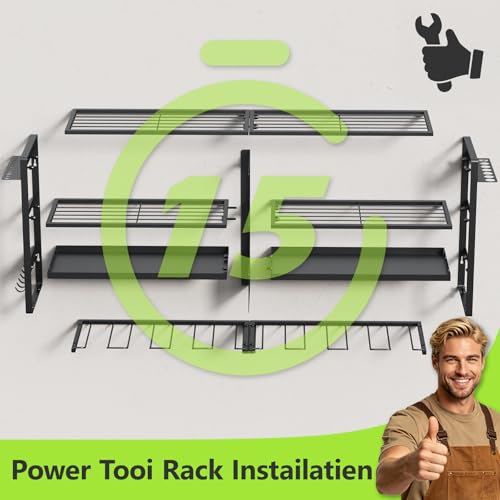
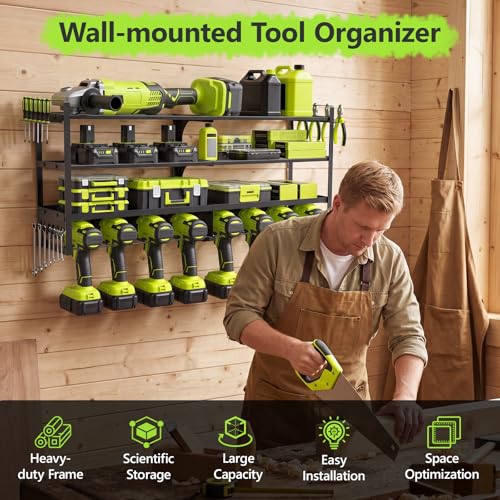
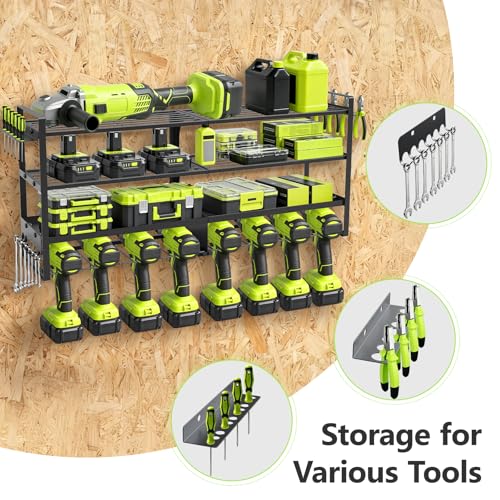
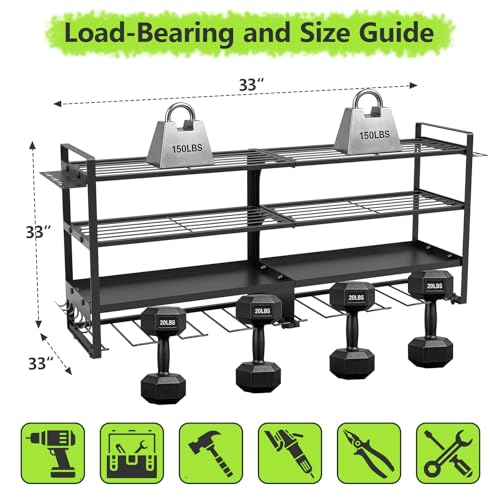
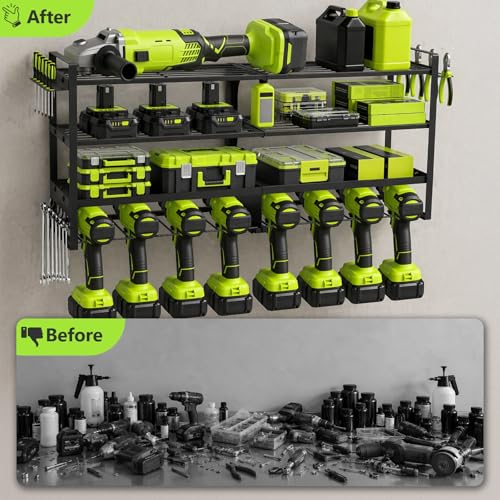
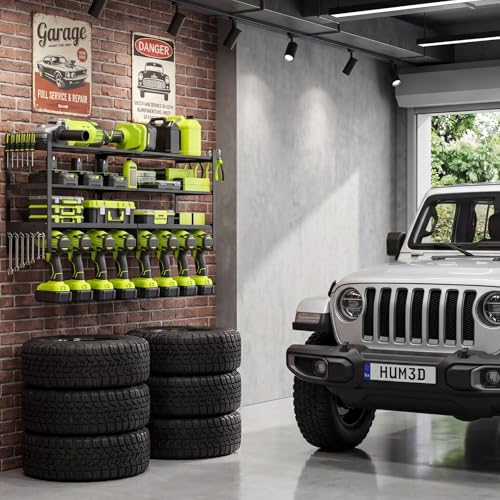
FurniEdge 4-Tier Power Tool Organizer Wall Mount




As an Amazon Associate we earn from qualifying purchases. Product prices and availability are accurate as of the date/time indicated.
If you would rather replace than keep troubleshooting, a heavy-duty steel organizer with a reinforced multi-tier layout and dedicated drill holders can be a practical option. Look for one that clearly lists its anchoring requirements and lets you mount directly into studs while keeping heavy items low and centered.
When to Skip This and Call a Professional
This type of DIY fix is not ideal for situations where the wall is damaged, the panel holds very heavy loads overhead, or you are unsure about the wall structure. If you see large cracks, crumbling masonry, signs of water damage, or if the organizer must support heavy equipment above head height, skip this and get help. For any heavy or overhead storage, follow the manufacturer weight capacity and wall-anchoring instructions closely, and consult a qualified installer or contractor when you need to anchor into concrete, block, or ceiling joists.
Frequently Asked Questions
Why is my tool wall panel sagging in the middle?
Center sag usually means the middle of the panel is unsupported or overloaded. Check if the center mounting holes are anchored into a stud or solid anchor, and try moving heavier tools toward the stud locations and lower tiers to reduce flex.
Can I fix a sagging organizer without drilling new holes?
Sometimes you can improve sag by unloading, leveling, and retightening existing hardware, and by redistributing weight more evenly. If the current holes are only in drywall or are already enlarged, though, you will usually need new holes in studs or properly rated anchors to keep it from sagging again.
How do I prevent my wall organizer from sagging again?
Anchor every rail or panel section into studs where possible, use hardware rated for your wall type, and respect the listed weight limits. Keep the layout balanced, place the heaviest tools low and near supports, and check fasteners every few months to catch loosening early.
Browse more picks in our Power Tool Wall Mount Organizers category, or see our related guide on Wall Control 4 ft. Metal Pegboard Review.





Write Your Review
No reviews yet. Be the first to share your experience!