

Quick Answer
If your workbench legs are uneven on a sloped garage floor, the floor is almost always the cause, not a defect in the bench. Most garage slabs are intentionally poured with a slight pitch toward the door or drain so water runs off, so a rigid four-leg bench will rock, tilt, or sit out of level. The most reliable fix is to make each leg independently adjustable so you can dial out the slope, rather than relying on loose shims that compress and slide. Start by leveling the bench in its final position before you consider moving it or replacing it.
Why This Happens
Garage floors are not built like interior floors. Builders pitch the concrete slightly toward the overhead door for drainage, and that pitch can be hard to see until you set a long, rigid workbench on it. Even a small slope leaves one or two legs floating above the concrete, which creates a noticeable rock when you lean on the top or run a tool. This is normal garage construction, and it affects almost every freestanding bench, cabinet, and shelving unit placed on the slab. For more on how floor conditions affect setup, see the Garage Floor & Safety category.
Most workbenches are built with fixed-length legs that assume a flat floor. Whether the frame is wood or steel, it does not flex enough to absorb a slope, so any variation in the floor translates directly into wobble, a top that is not level, and drawers or vises that do not operate smoothly. If the bench was assembled on a flat driveway or shop floor and then moved into the garage, the unevenness may only appear in the garage, which confirms the floor is the variable. A bench that is perfectly square can still rock if the surface underneath is pitched.
A few common factors make the problem worse. Thin shims made from cardboard, softwood scraps, or folded paper compress under load and work loose from vibration, so the wobble returns. Concrete itself is rarely perfect, with trowel marks, small ridges, control joints, and chips that create high and low spots under the feet. Loading one side of the bench heavily with a vise, tools, or material can twist a lighter frame and lift the opposite leg. Legs without non-slip pads also tend to creep on smooth concrete when you plane, hammer, or push material across the top.
Seasonal changes and use can add to the issue. Wood legs and tops expand and contract slightly with humidity, which can loosen joints and fasteners over time and make an existing rock more pronounced on a sloped slab. Repeatedly dragging the bench to clean or reposition it can also rack the frame out of square. Try sliding the bench a foot in each direction or rotating it 90 degrees, if you notice the same legs still float, the slope is consistent, if the wobble moves, the frame itself may need tightening before you level it.
Fixes to Try
- Check the slope and identify the low legs. Set a long level on the bench top front to back and side to side, then note which legs have a gap. Try lifting each corner slightly by hand to feel where the movement is, this tells you how much adjustment each leg needs.
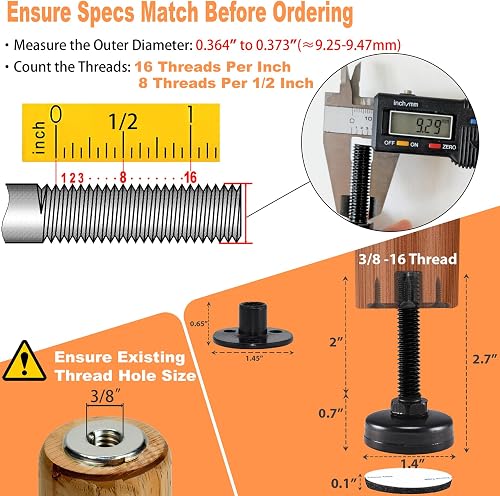
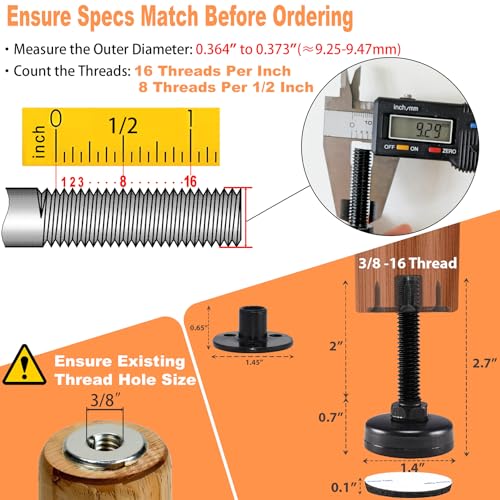
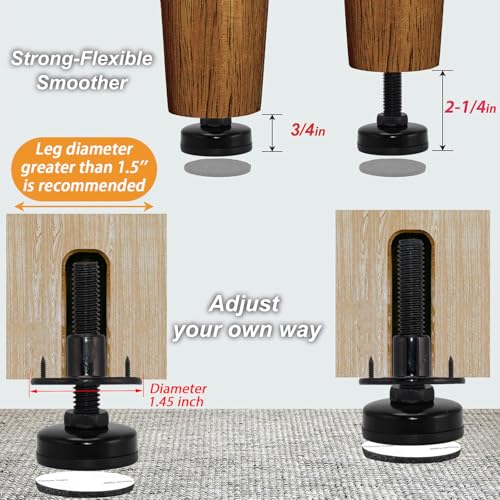
- Install adjustable leveling feet for a permanent fix. For wood legs, drill a clean pilot hole and install a T-nut insert, then thread in a leveling foot with a broad nylon base, for steel legs, use a threaded insert or weld-in bung. Adjust each foot until the top reads level and the bench no longer rocks under pressure. If you are planning a new setup, browsing a best garage workbench for 2 car garage guide can help you choose a design that already includes levelers.
- Use proper shims only as a temporary check, not a long-term solution. If you must shim, use solid composite or hard plastic shims made for construction, trim them flush with the foot, and secure them so they cannot kick out. Avoid stacking multiple thin shims or soft materials that will crush under weight and vibration.
- Reposition and orient the bench to work with the slope. Placing the bench so its long axis runs parallel to the slope, often parallel to the garage door, can reduce the height difference between legs. Keep the bench away from control joints, drains, and the steepest pitch near the door threshold, and try to keep heavy tools centered rather than all on the downhill side.
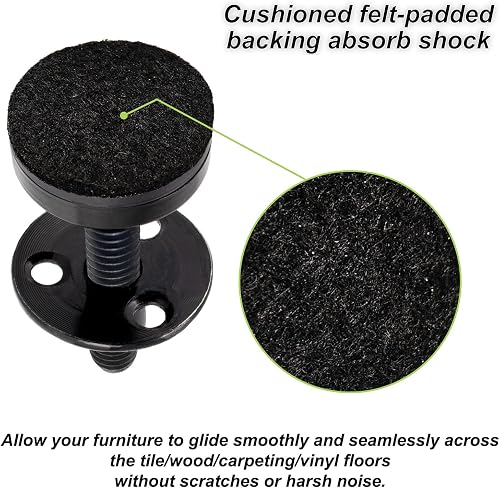
- Tighten the frame and lock your adjustment. Snug all leg bolts, stretchers, and top fasteners, then recheck for level after tightening. Once level, lock leveling feet with their jam nut, add felt or rubber pads under nylon bases if you need to protect coated floors, and give the bench a firm shake to confirm it stays planted before you load it up. For wall-adjacent benches, see ideas in best foldable workbench for concrete wall for stable mounting options.
When to Consider Replacing It
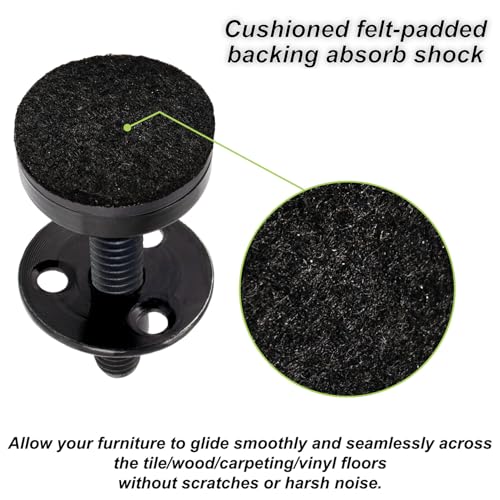
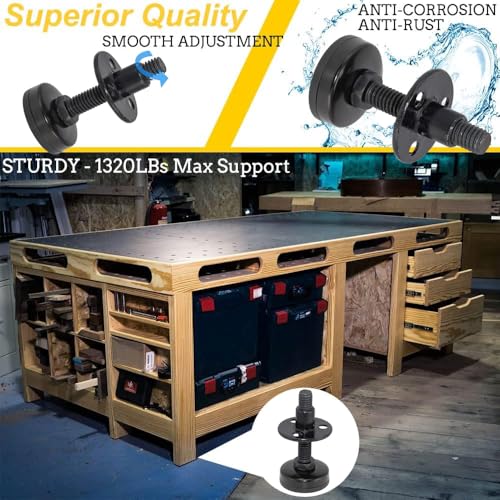
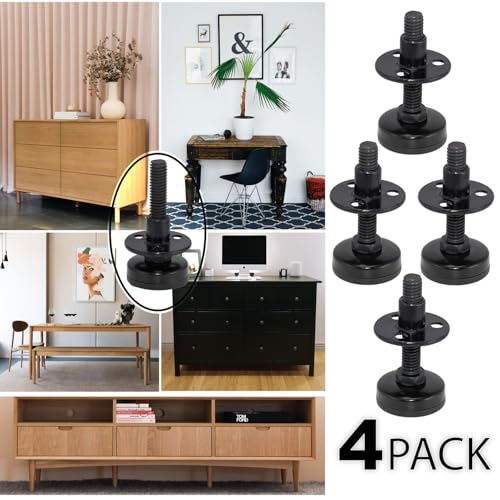
Consider replacement when the legs are bent, cracked, or split at the insert point, when the frame is racked and will not stay square even after tightening, or when you have maxed out adjustment and still cannot get the top level. If you have tried shimming and tightening several times and the wobble keeps returning, a bench with built-in heavy-duty levelers is often simpler than continuing to troubleshoot. If you would rather replace it than keep adjusting, one practical option to evaluate is the NEWBYTEK 3/8″-16 Heavy Duty Furniture Leveling with its wide base and T-nut kit for sloped concrete.
This article contains affiliate links. If you buy through one of our links, TheGarageCrafted may earn a commission at no extra cost to you. Commissions never influence which products we recommend or how we rank them. Read our Affiliate Disclosure for details.

Prime NEWBYTEK 3/8-16 Heavy Duty Furniture Leveling Feet






As an Amazon Associate we earn from qualifying purchases. Product prices and availability are accurate as of the date/time indicated.
When to Skip This and Call a Professional
This leveling approach is not ideal for situations where the floor has large cracks, heaving, significant settlement, or standing water that suggests a drainage or structural issue, and it is not a good fit if the bench must be anchored for heavy machinery use or supports wall-mounted cabinets above it. If the bench is integrated with electrical, dust collection, or needs to be lagged into concrete for stability, skip this DIY leveling and consult a qualified contractor or follow the bench manufacturer’s anchoring instructions. Do not try to grind, cut, or pour concrete to correct the slope yourself.
Frequently Asked Questions
Why does my workbench wobble only in the garage and not in the basement?
Basement and interior floors are usually finished to be flat and level, while garage slabs are intentionally pitched for drainage. A bench that is square will sit flat inside but rock on the garage pitch, so the difference points to the floor, not the bench. Try the level check in both locations to confirm.
Can I just put plywood under the low legs to level my bench?
You can use plywood as a quick diagnostic to see how much lift you need, but it is not a stable long-term fix. Plywood can compress, absorb moisture, and slide on concrete with vibration. Threaded leveling feet with a broad, non-slip base provide finer adjustment and stay put under load.
Should I level the bench top or the legs?
Always adjust at the legs or feet, not by shimming the top. Leveling at the floor keeps the frame square and the load path directly into the concrete. Shimming between the top and frame can create flex and make the bench less stable when you apply force to the work surface.
Browse more picks in our Workbenches & Workstations category, or see our related guide on Best Foldable Workbench for Concrete Wall: 10 Picks for 2026.









Write Your Review
No reviews yet. Be the first to share your experience!