

Quick Answer
To fix a wobbly power tool battery charging rack, first empty the rack and check the wall screws and anchors, since loose mounting hardware is the most common cause of wobble. Tighten all frame screws, confirm the rack is anchored into studs or proper wall anchors, then reload it with heavier batteries and chargers low and centered to balance the load.
Why This Happens
A charging rack wobbles for a few predictable reasons, and most come down to how it is mounted and loaded rather than a defect in the steel itself. Wall-mounted organizers hold a lot of top-heavy weight from drills, batteries, and chargers, so even a small amount of play at the wall or between frame joints gets amplified when the rack is fully loaded.
Loose or incorrect wall anchors are the leading culprit. Drywall screws without anchors, anchors that have pulled loose, or screws that missed the stud will let the entire unit flex every time you grab a tool. This is especially common on pegboard or drywall where the rack was hung with the included hardware but not reinforced for the actual wall type, a problem often seen with wall mounts on concrete or block walls that need masonry-specific anchors.
Uneven weight distribution is another frequent cause. Chargers and battery packs clustered on one side, or several drills hung on the same end, create a twisting force that makes the frame rack side to side. Overloading one shelf or hanging more tools than the design intends can also loosen joints over time and make the wobble worse.
Finally, assembly hardware works loose with vibration and daily use. Frame bolts, shelf screws, and hook connections can back out slightly after months of loading and unloading tools. If the rack was assembled without fully tightening each joint, or if the wall itself is slightly uneven, that small gap turns into a noticeable wobble when weight is added.
Fixes to Try
- Empty the rack completely and tighten every frame screw and bolt. Start at the top and work down, snugging each connection firmly but without stripping the hardware, then check for any bent or cracked brackets that no longer sit flush.
- Check the wall mounting points. Confirm screws are driven into studs where possible, or that the correct anchors for your wall type are used and fully set. If an anchor spins or pulls out easily, remove it, patch the hole, and reinstall with a larger, wall-appropriate anchor rated for heavy loads.
- Level and shim the rack. Place a small level on the top shelf and check both side to side and front to back. If the wall is uneven, add thin rubber or felt shims behind the mounting plate to eliminate gaps so the rack does not pivot on a high spot.
- Rebalance the load. Put heavier items like chargers and large battery packs on the lowest shelf and centered over the mounting points, and distribute drills evenly across the slots instead of grouping them on one end. Avoid exceeding the manufacturer’s recommended load for each shelf and keep cords routed so they do not pull on the rack.
- Add stability support if needed. For taller or heavily loaded racks, consider adding a second mounting point or a wall strap near the bottom, and ensure the power strip cord has slack so plugging and unplugging does not tug the frame. For ideas on sturdier mounting options, see sturdy drill holder wall mounts for heavy loads.
When to Consider Replacing It
If the frame is bent, welds are cracked, mounting holes are stripped and will no longer hold an anchor, or the rack still wobbles after you have retightened and re-anchored it correctly, repair may not be worth the effort. In that case, replacing it with a heavier gauge steel unit that includes a built-in power strip and more secure mounting hardware can save time and keep batteries organized safely.
This article contains affiliate links. If you buy through one of our links, TheGarageCrafted may earn a commission at no extra cost to you. Commissions never influence which products we recommend or how we rank them. Read our Affiliate Disclosure for details.

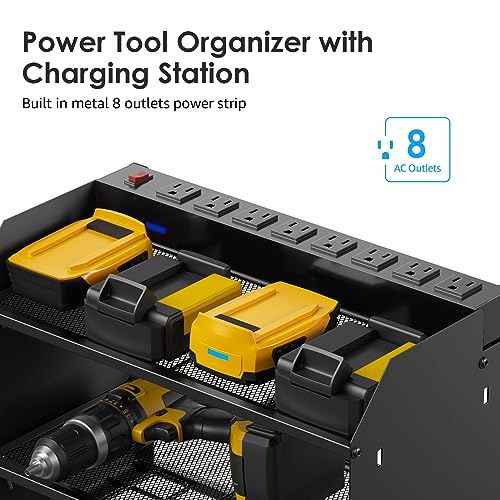
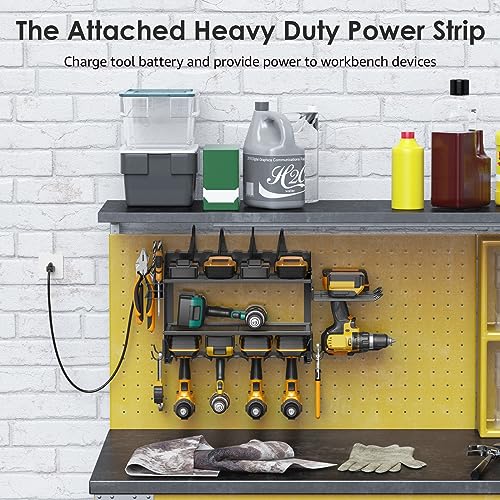
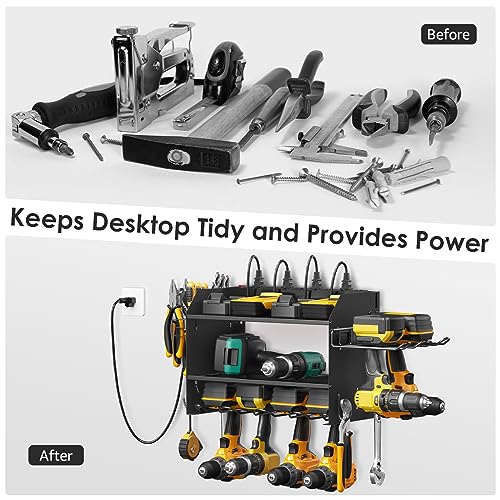
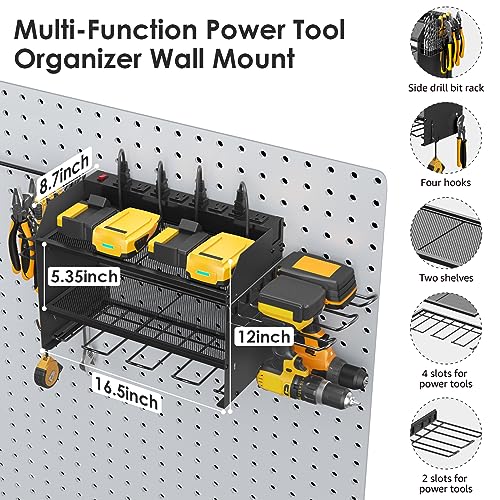
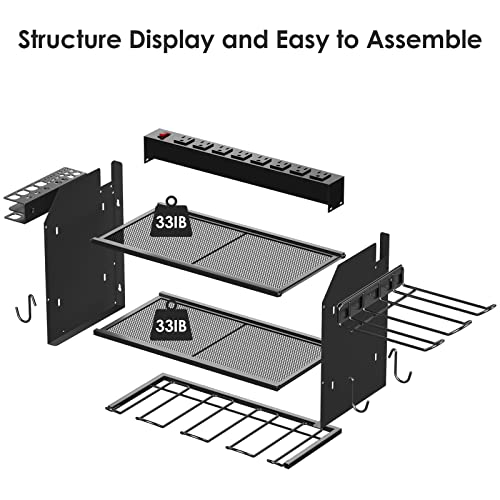
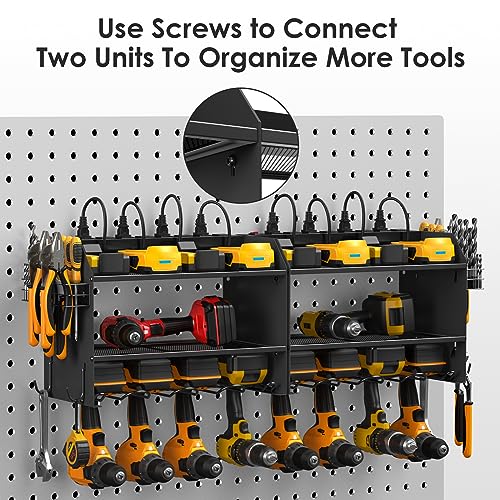
Prime CCCEI Modular Power Tool Organizer Wall Mount


As an Amazon Associate we earn from qualifying purchases. Product prices and availability are accurate as of the date/time indicated.
For example, the Power Tool Wall Mount Organizers category includes options with thicker steel and integrated charging shelves that help distribute weight more evenly and reduce flex.
When to Skip This and Call a Professional
This type of DIY tightening and re-anchoring is not ideal for racks that are hardwired into household wiring, show signs of electrical damage like scorching or a loose power strip, or have pulled a large section of drywall or masonry loose from the wall. If the rack holds a lot of weight overhead or the wall structure is damaged, skip this and follow the manufacturer’s weight capacity and wall anchoring instructions closely, and contact a licensed electrician for any outlet, wiring, or surge protection concerns rather than attempting a workaround.
Frequently Asked Questions
Why does my power tool battery charging rack wobble even though the screws feel tight?
Tight screws do not always mean a solid mount if the anchors are wrong for your wall type or the weight is uneven. Try confirming the anchors are rated for your wall material, checking that frame joints are also tight, and redistributing heavier batteries toward the center and lower shelf.
Can I fix a wobbly charging rack without drilling new holes?
You can often reduce wobble by emptying the rack, retightening all assembly hardware, leveling with shims, and balancing the load more evenly. If the wall anchors themselves are loose or spinning, however, you will likely need to replace the anchors and drill correctly sized holes for proper support.
How do I keep my charging rack from wobbling again after I fix it?
Avoid overloading one side, keep heavier chargers low, and periodically check and snug hardware every few months with regular use. Make sure cords have enough slack so daily plugging and unplugging does not pull on the frame, and keep the area around the garage floor and wall area dry and clear so the rack stays stable.







Write Your Review
No reviews yet. Be the first to share your experience!