

Quick Answer
If your power tool wall mount organizer keeps falling, it is usually because the screws are not anchored into studs or the anchor type does not match your wall. Remove the tools, check every mounting point for looseness or wall damage, then reinstall directly into studs with the correct heavy duty anchors for your wall type and keep the heaviest drills centered and low.
Why This Happens
Most wall mount organizers rely on just two to four mounting points to hold all the weight. If those points are only in drywall with light plastic anchors, the weight of drills, batteries, and chargers will slowly pull them out, especially with daily vibration from grabbing and replacing tools.
Wall type matters more than the rack itself. Wood stud walls need lag screws into solid wood, while concrete, brick, and block need proper expansion bolts and a correctly sized pilot hole. Using the wrong hardware, or drilling a hole that is too large, leaves the anchor with nothing solid to grip. If you are mounting on masonry, this guide to concrete wall tool storage explains which anchor styles hold better in those surfaces.
Overloading and poor weight distribution also cause falls. A double layer rack with drills on the top slots and batteries plus chargers on the same side creates a top heavy, front heavy pull. Over time that leverage loosens screws, bends thin mounting plates, and widens anchor holes until the whole unit tilts forward and drops.
Finally, the organizer itself can loosen at the joints. Many racks use side plates connected to shelves with small screws. If those frame screws were not fully tightened or have worked loose, the frame can flex and wobble. That movement puts extra stress on the wall anchors with every use, which accelerates failure.
Fixes to Try
Try these steps in order, starting with the safest and easiest checks. Unload the rack completely before you work on it.
- Unload and inspect everything. Take all tools and batteries off, then check each wall screw, each frame screw, and the wall around the anchors for cracks, crumbling drywall, or enlarged holes. If the wall is damaged, you will need to patch it or shift the mount to a solid section.
- Locate studs and mark your layout. Use a stud finder to find the center of each stud and confirm with a small nail. Most homes have studs 16 inches apart, so plan to hit at least two studs. Mark the holes level before you drill.
- Use the right anchors for your wall. For wood studs, use lag bolts or heavy wood screws long enough to get solid bite. For concrete or brick, use the hexagonal expansion bolts or masonry anchors specified in the manual and drill the pilot hole to the exact size recommended. Do not reuse stripped plastic anchors in drywall alone for a loaded tool rack.
- Rebalance the load and tighten the frame. Put the heaviest drills and batteries on the lowest, most centered slots, spread weight evenly left to right, and keep cords from pulling to one side. Then retighten every side plate and shelf screw so the frame does not flex. For ideas on weight distribution, look at how sturdy drill holder wall mounts arrange heavy tools.
- Remount, level, and recheck after a day. Hang the empty rack, confirm it is level and flush to the wall, then load tools back gradually. Check the anchors again after 24 hours of use and retighten if needed. If it still moves, the wall section may be too weak and you should shift to a different stud bay.
When to Consider Replacing It
If the mounting holes are wallowed out, the side plates are bent, or the anchor points have cracked after multiple falls, repairs often do not hold for long. A warped frame will keep flexing and pulling on the wall, even with new anchors. In that case, replacing the unit is usually faster and safer than trying to patch a damaged rack.
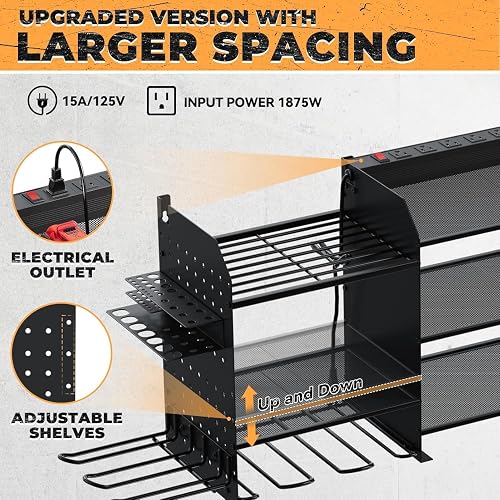
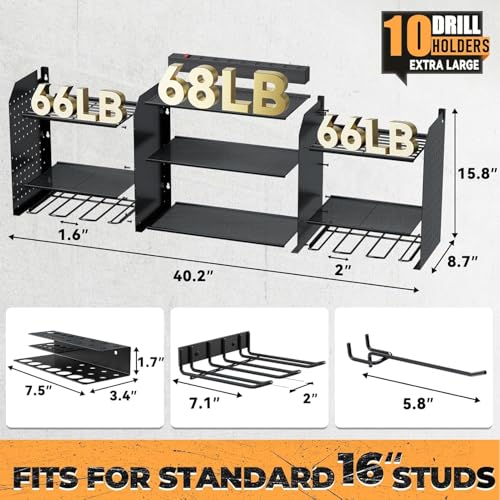
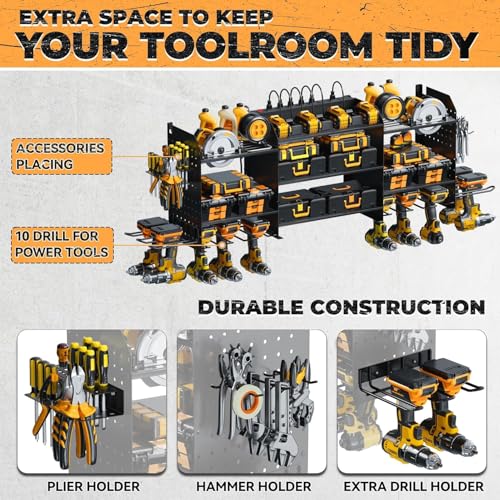
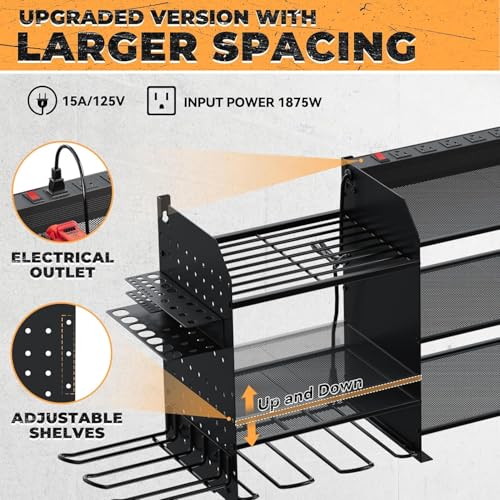
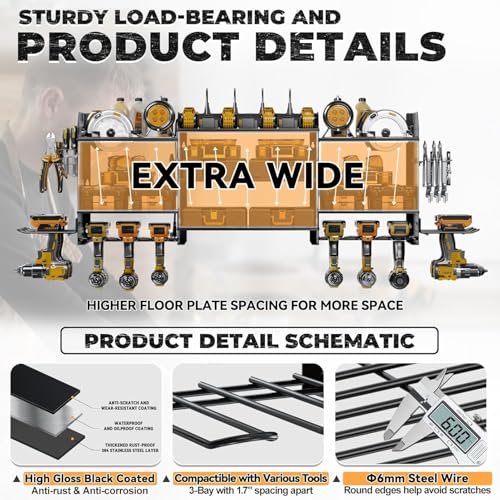
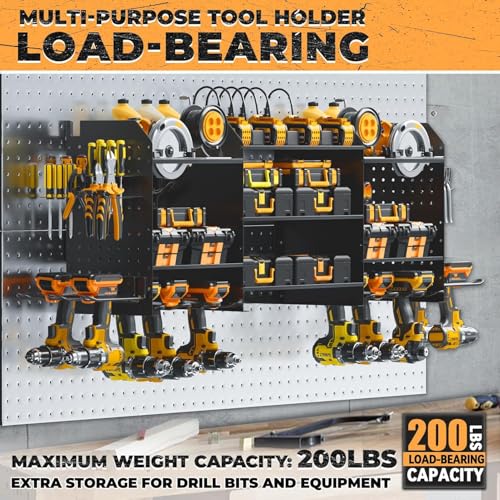
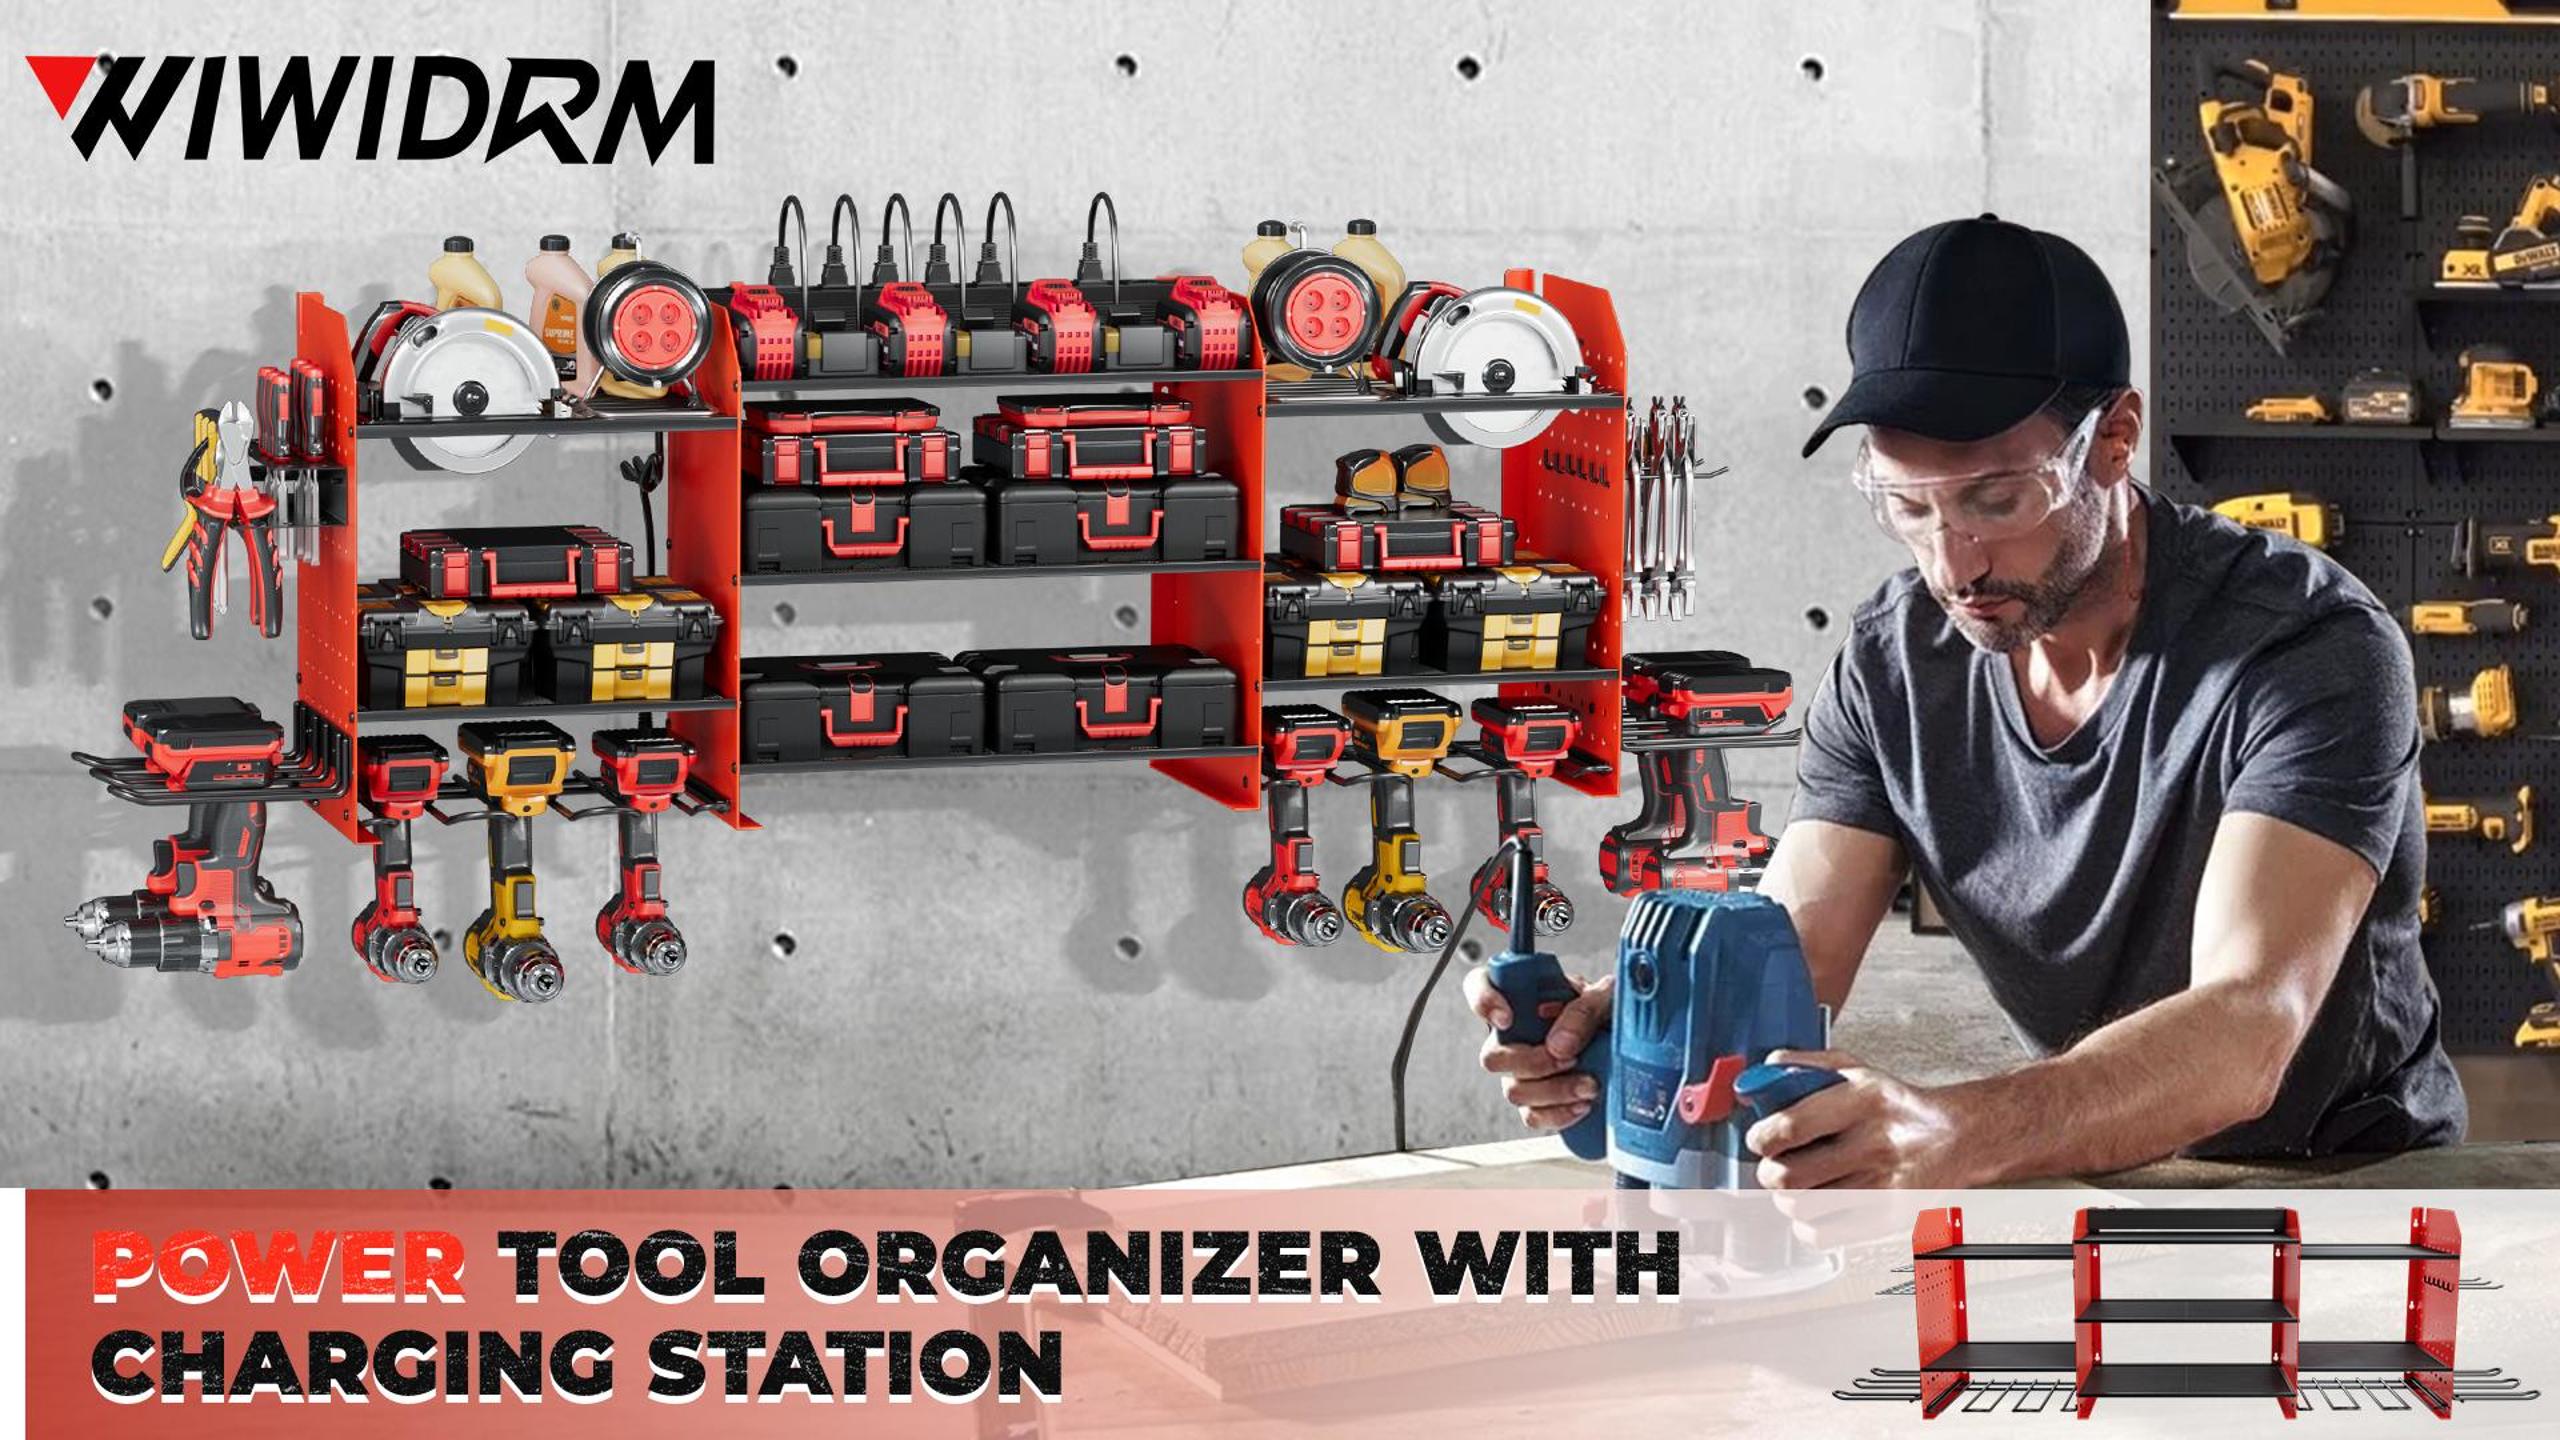
If you would rather replace it than keep troubleshooting, a heavy duty steel option with reinforced mounting points and included expansion hardware can simplify the next install. Look for a design with rounded edges, upward sloping slots, and a built in power strip so you are not adding extra strain from separate cords.
This article contains affiliate links. If you buy through one of our links, TheGarageCrafted may earn a commission at no extra cost to you. Commissions never influence which products we recommend or how we rank them. Read our Affiliate Disclosure for details.

Prime WIWIDRM Power Tool Organizer Wall Mount




As an Amazon Associate we earn from qualifying purchases. Product prices and availability are accurate as of the date/time indicated.
When you install any new organizer, follow the included manual for stud spacing and hardware, and do not exceed the manufacturer’s rated weight capacity.
When to Skip This and Call a Professional
This DIY approach is not ideal for situations involving electrical work, badly damaged walls, or overhead loads. If the falling organizer damaged the built in power strip, outlet, or wiring, or if you need to add or relocate an outlet to power the charging station, skip this and call a licensed electrician instead of rewiring it yourself. Also, if the wall is crumbling, the studs cannot be located, or the rack must hold an unusually heavy load, follow the manufacturer’s weight capacity and anchoring instructions closely and get help from a qualified installer rather than improvising with larger bolts.
Frequently Asked Questions
Why does my power tool wall mount organizer keep falling even after I tightened the screws?
Tightening alone will not help if the anchors are in drywall only or the holes are already enlarged. Try removing the rack, patching or relocating the holes, and reinstalling directly into studs or with the correct masonry expansion bolts so the anchors have solid material to grip.
Can I use drywall anchors for a power tool organizer with a charging station?
Standard plastic drywall anchors are not a good fit for a loaded organizer that also holds drills, batteries, and a power strip. For a secure hold, anchor into wood studs where possible and use the manufacturer supplied expansion hardware for concrete or brick. Always check the manual for the recommended wall type and hardware.
How do I stop my organizer from tilting forward before it falls?
Forward tilt usually means the load is top heavy or front heavy. Move heavier tools to the bottom tier, center them over the mounting points, and make sure the frame screws are fully tightened so the rack does not flex. Also confirm the top mounting bolts are fully seated into studs or proper masonry anchors, not just drywall.
Browse more picks in our Power Tool Wall Mount Organizers category, or see our related guide on Best Drill Holder Wall Mounts for Heavy Totes: 10 Sturdy Picks 2026.






Write Your Review
No reviews yet. Be the first to share your experience!