

Quick Answer
If you are fixing sagging power tool battery charging rack issues, the most common cause is too much weight on one shelf combined with wall anchors that are not secured into studs. Unload everything, check if the mounting screws are loose or pulling out, then re-anchor into solid wood studs or masonry and redistribute chargers and batteries evenly before reloading.
Why This Happens
Most wall-mounted charging racks use two or three metal shelves to hold drills, batteries, and chargers. When the top shelf holds several chargers plus batteries while the lower slots hold heavy drills, the center of gravity shifts forward and down. Over time that leverage bends thin shelf supports and makes the whole unit droop at the front edge.
Mounting is another frequent culprit. Many racks are installed with drywall anchors or screws that miss the studs. Drywall alone cannot support a loaded charging station for long, especially with the constant vibration of plugging and unplugging batteries. You may notice the top screws tilting downward or a gap forming between the rack back and the wall.
Material flex also plays a role. Light-gauge steel shelves can flex if weight concentrates in the middle rather than near the side brackets. Heat from chargers and seasonal humidity in garages can slightly loosen hardware and make that flex more noticeable. If you mounted on concrete or block without the right anchors, the rack can also sag as plastic anchors deform.
Finally, cord strain adds hidden weight. A power strip with a short cord pulled tight, or chargers hanging off the front edge with their cables dangling, creates constant downward pull on the shelf. That steady tension is often what turns a slight bow into a visible sag over a few months.
Fixes to Try
- Unload and level check. Remove all tools, batteries, and chargers, then place a small level on each shelf. Check if the sag is in the shelf itself or if the entire rack is tilting away from the wall, which points to a mounting issue rather than a bent shelf.
- Tighten and upgrade the wall anchors. Try tightening all mounting screws, then confirm each one hits a stud with a stud finder. If any screw spins freely or the rack was only in drywall, replace those points with proper wood screws into studs or rated masonry anchors for concrete, following the manufacturer instructions.
- Redistribute weight evenly. Place heavier items like drills and large batteries closest to the side supports and wall, and keep lighter chargers centered. Avoid loading one shelf to its limit while others sit empty, and keep the heaviest shelf lowest if your rack design allows it.
- Add a backer board for support. If studs do not line up with the rack holes, mount a horizontal 3/4 inch plywood board securely across two studs, then mount the rack to that board. This spreads the load and gives you solid wood everywhere, a common fix seen in pegboard and metal organizer setups.
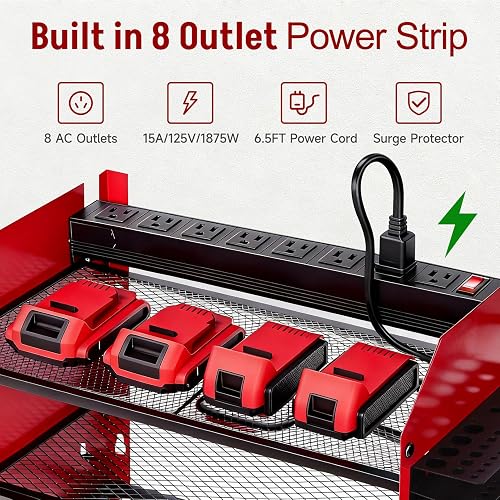
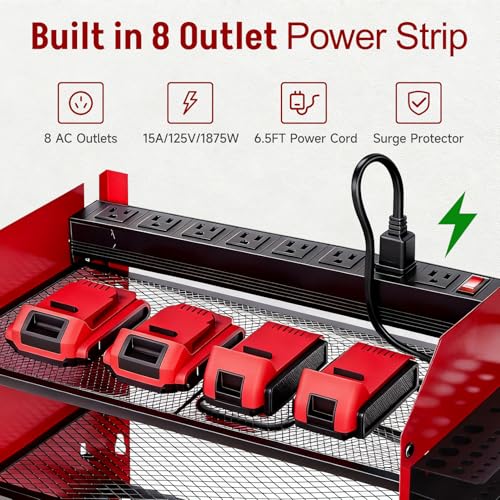
- Relieve cord and power strip strain. Make sure the built in power strip cord has slack and is not pulling on the shelf. Use the side hooks or a nearby cable clip to support charger cords so their weight does not hang off the front edge. Check that the power strip is fully seated and not adding leverage to a bent shelf.
When to Consider Replacing It
If the shelf stays bowed after you unload it, if welds are cracked, screw holes are elongated, or the rack tilts even with solid stud anchoring, repair may not be worth the effort. Bent metal rarely returns to full strength and can sag again quickly under load. If you would rather replace it than keep troubleshooting, a heavy duty option with reinforced shelves and an integrated charging station can simplify both storage and power management.
This article contains affiliate links. If you buy through one of our links, TheGarageCrafted may earn a commission at no extra cost to you. Commissions never influence which products we recommend or how we rank them. Read our Affiliate Disclosure for details.
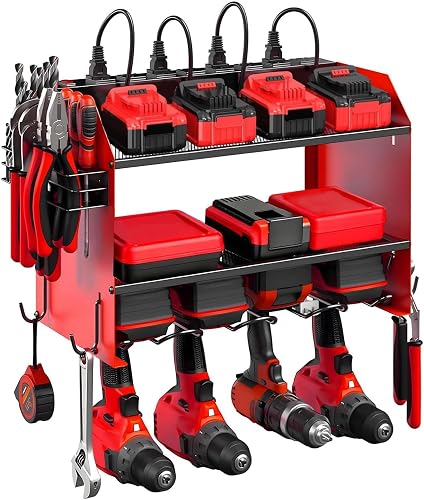
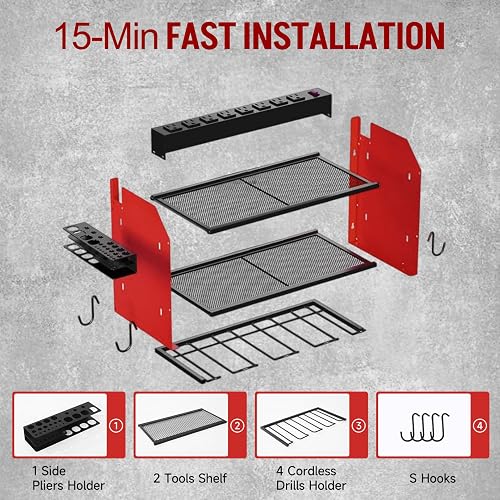
Prime CRELYSTER Power Tool Organizer Wall Mount




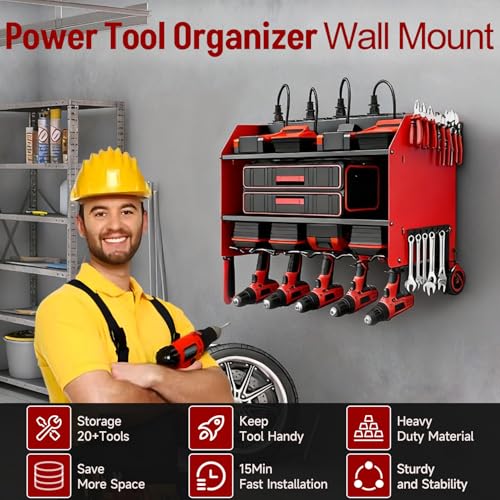
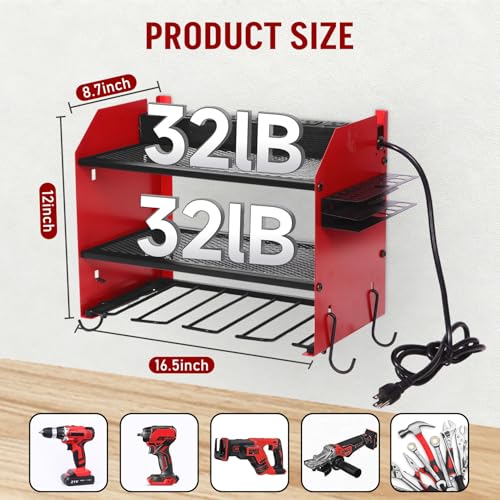
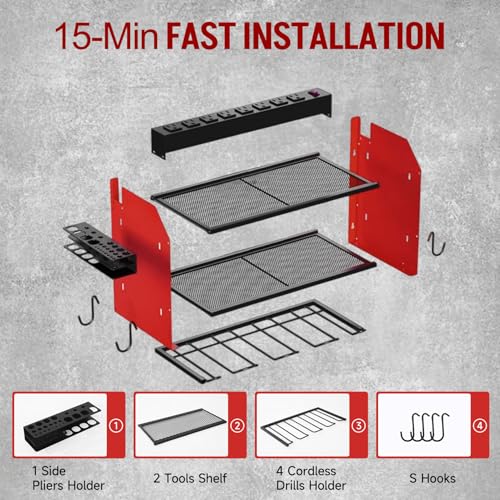
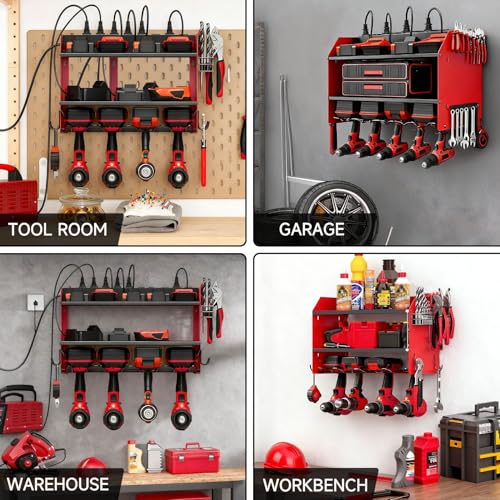

As an Amazon Associate we earn from qualifying purchases. Product prices and availability are accurate as of the date/time indicated.
Look for a replacement that lists clear load guidance per shelf, includes proper mounting hardware for your wall type, and keeps the power strip protected and close to the wall. For concrete walls, also review options designed specifically for cordless drill organizers on concrete so you get the right anchors from the start.
When to Skip This and Call a Professional
This type of DIY straightening is not ideal for racks with electrical damage, melted outlets, scorch marks, or a loose power strip that sparks or feels warm. It is also not a good fit if the rack is pulling a large section of drywall down or you need to add new outlets or hardwire a circuit to support it. For any signs of electrical overheating, repeated breaker trips, or uncertainty about stud locations and weight limits, follow the manufacturer weight capacity and anchoring instructions and contact a licensed electrician rather than trying a workaround.
Frequently Asked Questions
Why does my battery charging rack sag in the middle but not at the sides?
Center sag usually means weight is concentrated in the middle of the shelf away from the side brackets. Try moving heavier chargers and batteries toward the ends near the supports and keep the middle for lighter items. If the bow remains when empty, the shelf may be permanently deformed.
Can I fix a sagging rack by adding more drywall anchors?
Adding more anchors in drywall alone rarely solves sag because drywall cannot carry sustained load. Check that at least the top mounting points are driven into studs or into rated anchors for concrete or block. A plywood backer across studs is often more effective than extra drywall anchors.
Should I mount my charging rack higher to reduce sag?
Height does not prevent sag, but mounting higher can make it worse if you have to reach and pull on tools at an angle. Mount at a comfortable working height where you can plug batteries straight in without yanking the shelf forward, and keep cord slack so cables do not add downward pull.
Browse more picks in our Power Tool Wall Mount Organizers category, or see our related guide on Wall Control 4 ft. Metal Pegboard Review.










Write Your Review
No reviews yet. Be the first to share your experience!