

Quick Answer
A wobbly impact driver wall mount is almost always caused by loose screws or anchors that do not match your wall type, not a defect in the mount itself. Before you buy anything new, remove the tool, tighten every fastener evenly, and confirm the bracket sits completely flat against the wall with no gaps. In most garages, that simple reset plus the correct anchors for drywall, wood, or concrete stops the wobble right away and keeps the driver secure.
Why This Happens
The most common cause is using the wrong anchors for the wall. Standard wood screws hold well in a stud but will work loose in drywall alone, and light plastic anchors can flex every time you pull the impact driver out. Over weeks of daily use, that small movement enlarges the hole and the whole mount starts to rock, even if the screws still feel snug at first.
An uneven or non-flat mounting surface also creates wobble. If the bracket spans a drywall seam, a textured bump, or the edge of a stud, only part of the plate makes contact. That leaves a pivot point, so weight on one side makes the mount tilt and twist instead of staying rigid, and the movement gets worse each time you load or unload the tool.
Friction fit cradles can loosen with repeated use as well. Each insertion and removal slightly wears the contact points, especially if you store a heavier impact driver with a large battery attached. When the cradle no longer grips snugly, the tool leans forward and the motion transfers to the screws, which then loosen faster and make the entire assembly feel unstable.
Off-center or unbalanced loading adds leverage that accelerates loosening. Hanging several tools on one end of a small rack or always loading the same slot puts constant twisting force on the outermost screws. Even a well installed mount will gradually develop play if the load is unbalanced day after day, so weight distribution matters as much as the initial install.
Fixes to Try
Try these steps in order from easiest to most involved. You can often stabilize the mount without drilling new holes, and each check helps you decide if a stronger anchoring method is needed.
- Remove the impact driver and tighten every screw evenly with the correct driver bit. Check for any stripped heads, then confirm the mount is level and flush. If one corner lifts when you press the opposite side, loosen all screws slightly, press the plate flat, and retighten in a cross pattern.
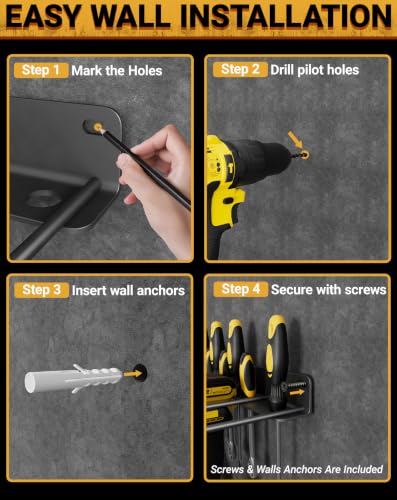
- Verify your anchors match the wall material. For drywall without a stud, use anchors rated for drywall and follow the manufacturer’s instructions for hole size. For concrete or block walls, switch to masonry anchors installed with a masonry bit, as explained in this guide to concrete wall tool storage.
- Add a flat backer if the wall is uneven or soft. Secure a piece of 3/4 inch plywood to two studs first, then mount the holder to the plywood. This spreads the load, gives screws solid wood to bite into, and eliminates gaps that cause rocking.
- Balance the load and reduce leverage. Store the driver without an oversized battery when possible, center heavier tools over the mounting holes, and distribute weight evenly across the rack. If you use a multi-tool rail, avoid clustering all the weight on one end, a tip also covered in this cordless drill organizer for concrete wall roundup.
- Refresh the friction fit to stop tool movement that loosens hardware. Clean dust and oil from the cradle, add a thin strip of adhesive foam or rubber liner inside for a snugger grip, and pull the driver straight out instead of at an angle. Less rocking means less stress on the screws over time.
After each step, rehang the driver and give the mount a gentle tug to check for play. If it still moves, move to the next step rather than overtightening the same screws, which can strip the holes and make the problem worse.
If you plan to expand your tool wall later, consider spacing mounts so each has its own stud or solid anchor rather than sharing a single weak point. That layout keeps future additions stable and prevents one wobbly bracket from affecting the next.
When to Consider Replacing It
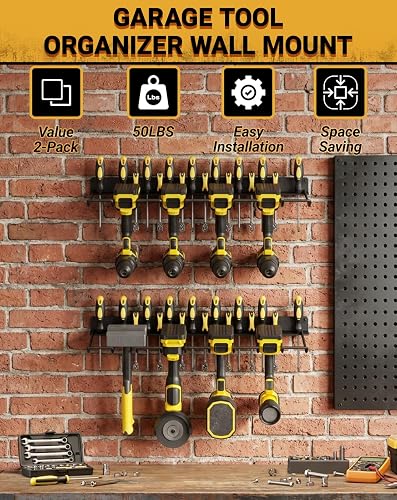
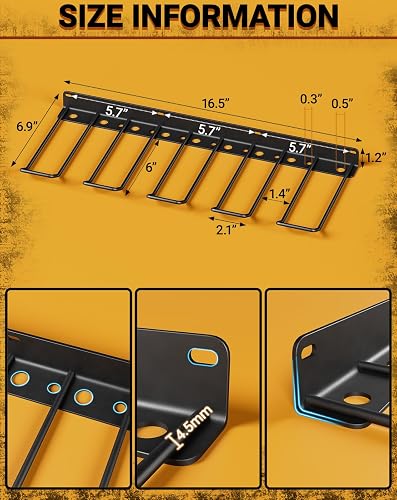
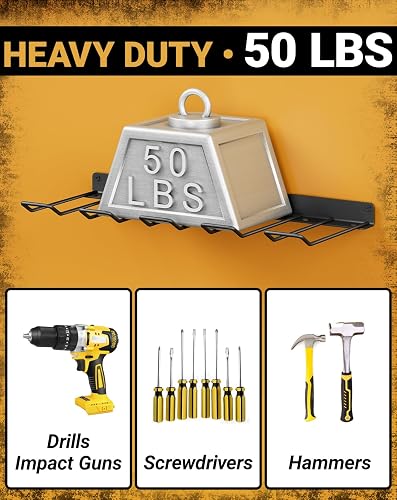
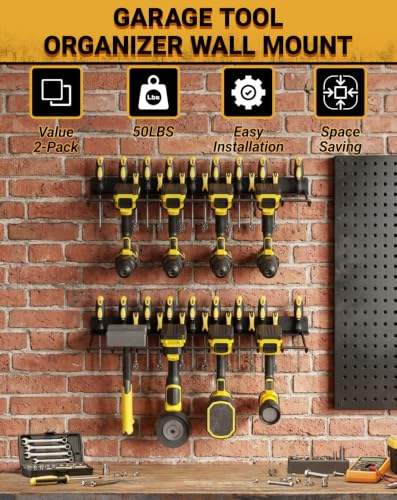
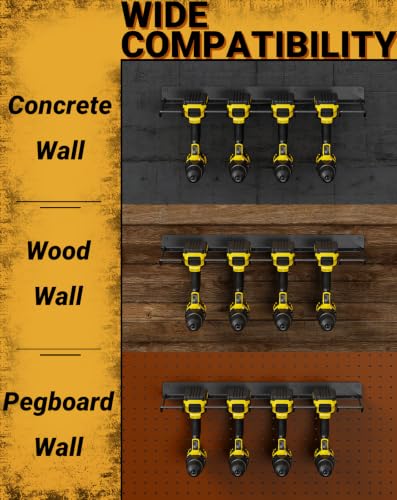
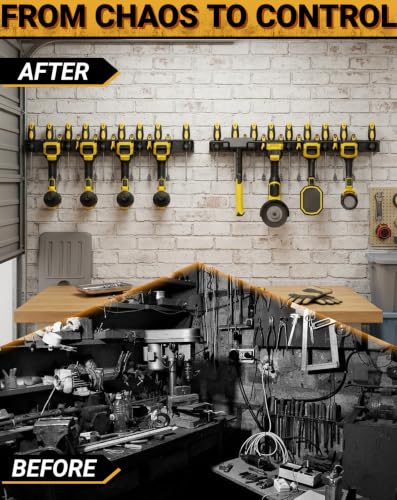
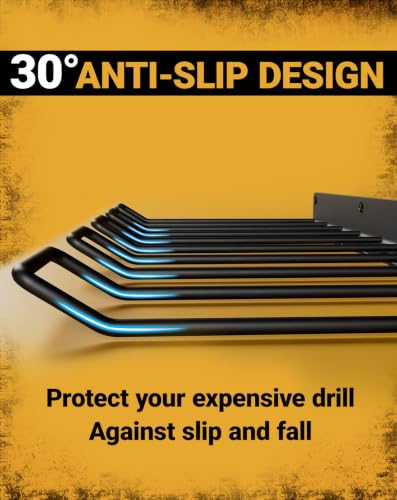
If the mounting plate is bent, the screw holes are visibly enlarged, or the plastic cradle is cracked and no longer holds the tool upright, repairs tend to be temporary. Wobble that returns within days after you have retightened and re-anchored usually means the hardware or the wall material around it has failed. At that point, starting fresh is often faster than patching the same holes. If you would rather replace it than keep troubleshooting, a wider steel rack with multiple anchor points and an anti-slip arc can provide a more stable base, such as the 2 Pack Drill Holder Wall Mount style holder. It is one practical option when you want a clean install on a solid surface. You can explore more organizer ideas in our Power Tool Wall Mount Organizers category.
This article contains affiliate links. If you buy through one of our links, TheGarageCrafted may earn a commission at no extra cost to you. Commissions never influence which products we recommend or how we rank them. Read our Affiliate Disclosure for details.

Prime DHLANROY 2 Pack Drill Holder Wall Mount




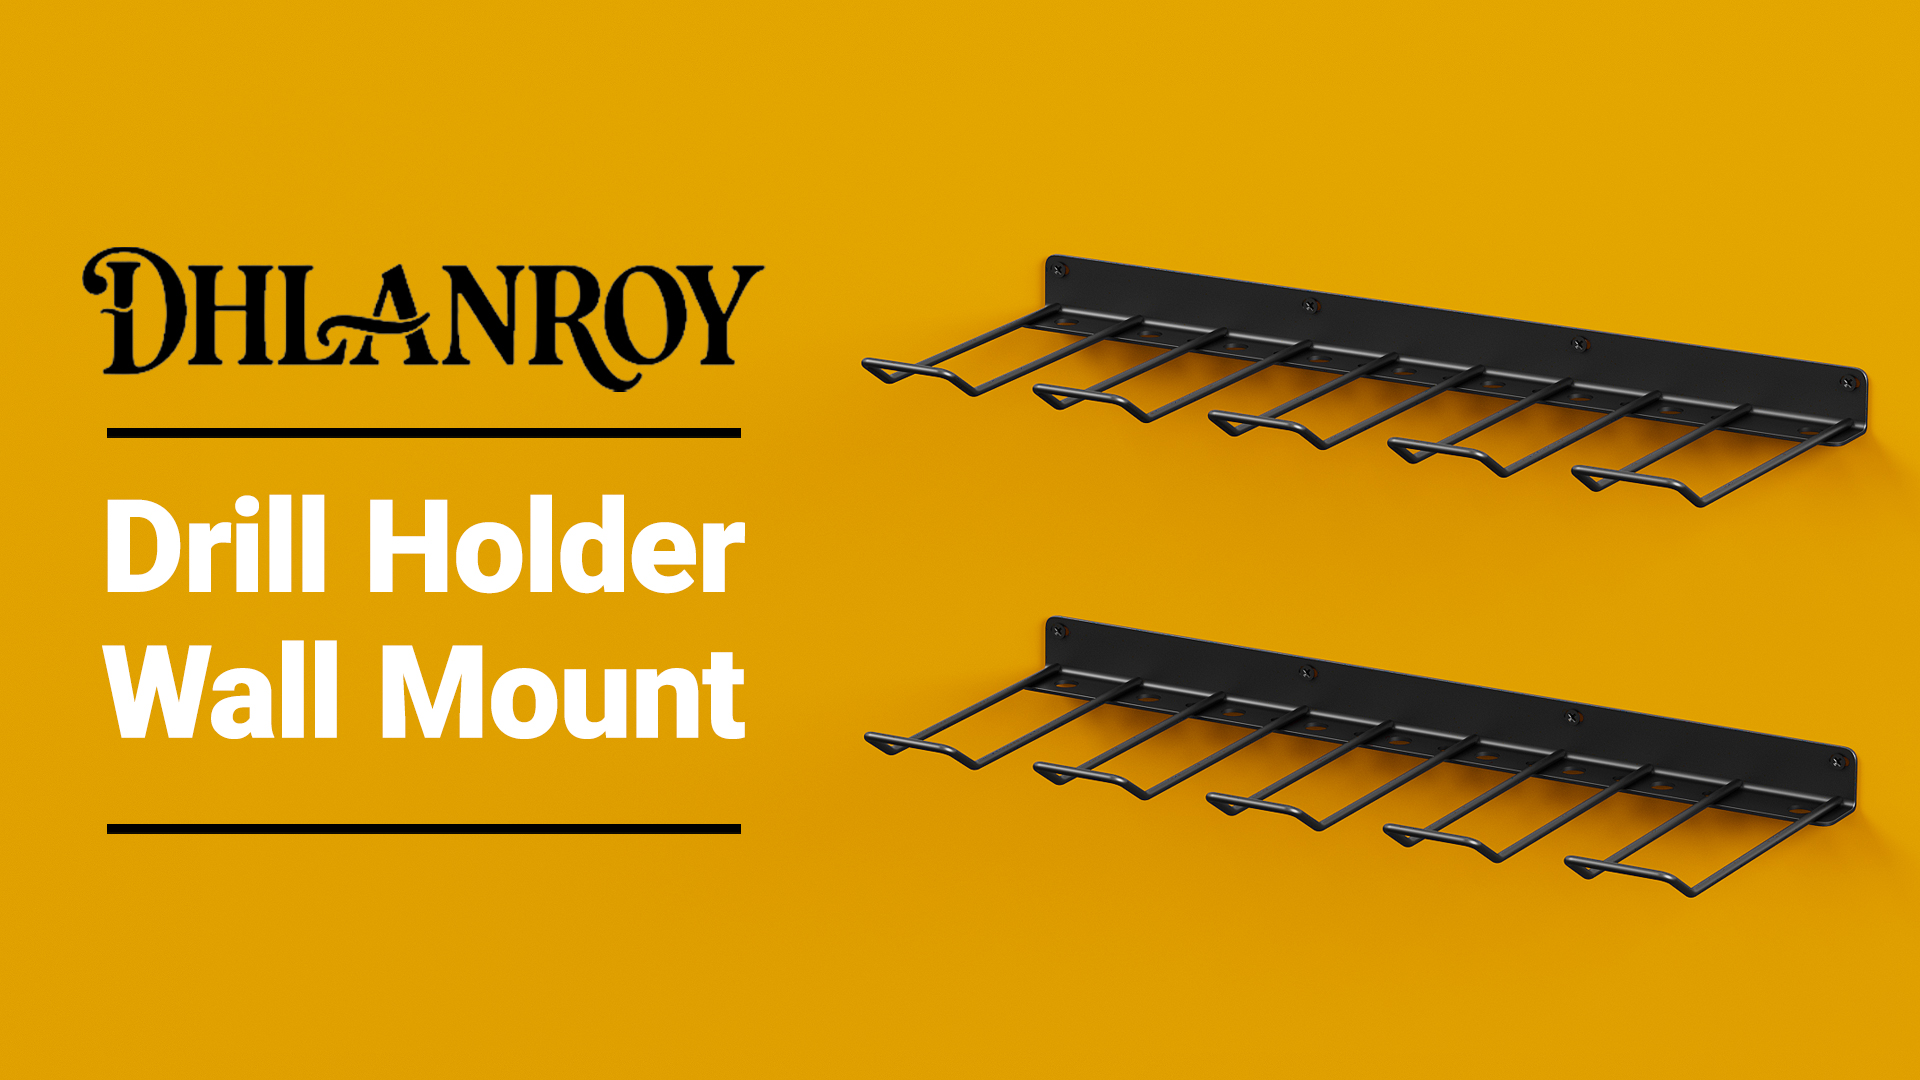
As an Amazon Associate we earn from qualifying purchases. Product prices and availability are accurate as of the date/time indicated.
When to Skip This and Call a Professional
This quick fix approach is not ideal for walls with large crumbling sections, mounts that have torn out a chunk of drywall, or any setup where you suspect electrical wiring or plumbing directly behind the drilling area. If the wall material itself has failed, if the mount is overhead or supporting a very heavy load, or if you are unsure about anchoring into masonry or metal, skip this and consult a qualified professional or follow the manufacturer’s weight and anchoring instructions closely. Avoid the temptation to simply use longer or thicker screws in a damaged hole, since that can hide a structural issue.
Frequently Asked Questions
Why does my impact driver wall mount wobble even though the screws feel tight?
Screws can feel tight while the anchors behind them are loose or spinning in an oversized hole. Try removing the mount, inspecting the anchors for cracks or movement, and replacing them with the correct type for your wall. A mount that is tight but not flush will still rock, so check for gaps behind the plate as well.
Can I fix a wobbly mount without drilling new holes?
You can often try tightening in a cross pattern, adding a plywood backer over the existing stud locations, or improving the friction fit with a foam liner. If the holes are already stripped or the anchors are damaged, you will usually need at least one new anchor point in solid material to get lasting stability.
How do I stop my impact driver from tipping forward in the holder?
Forward tipping is usually a cradle fit or balance issue rather than a wall anchor issue. Clean the holder, ensure the tool sits fully seated with the battery centered, and add a thin non-slip liner if the fit is loose. Storing the driver without an extra large battery and keeping the mount level also helps it stay upright.


Write Your Review
No reviews yet. Be the first to share your experience!