

Quick Answer
If your tool wall rack is scratching power tool housings, the most common cause is bare metal contact where the tool slides in and out of a tight slot or rests against an uncoated edge. Add a soft barrier and reduce friction by lining contact points with adhesive felt, rubber edge trim, or tool drawer liner, and avoid dragging tools straight across the metal. A few minutes of padding and adjusting how you insert and remove tools usually prevents most new scuffs.
Why This Happens
Most power tool wall mount organizers are built from heavy duty steel for strength, which is great for support but not ideal for soft plastic housings. If the powder coating is thin, chipped, or missing on the edges of drill slots and hooks, the exposed metal acts like a file every time a drill or driver twists on the way in or out. Even a smooth-looking rack can leave fine hairline scratches after repeated use.
Tight spacing makes the problem worse. When drill holders and shelves are packed close together, housings rub against neighboring tools, chargers, or the rack frame as you lift them. Battery packs, belt clips, and chuck keys often stick out and catch on the slot edges, so you end up wiggling the tool to free it and that wiggling creates scuffs. This is especially common in crowded setups where every slot is full and there is little room to angle tools cleanly.
Vibration and movement over time also contribute. If the rack is mounted with a slight flex or the hooks are a bit loose, tools can shift and vibrate against the metal when you open and close garage doors or bump the wall. Dust and grit trapped between the housing and the rack act as an abrasive paste, so even light contact can leave dull marks. You may notice more scratches on high gloss housings or on darker tool colors where fine abrasions show easily.
Finally, how you load the rack matters. Sliding a tool horizontally across the slot instead of lowering it straight down drags the housing across the front edge. Hanging tools by their cords or letting them swing into the rack can create impact scratches. Understanding these contact points helps you target the right fix instead of just accepting scuffs as normal wear, and you can find related layout ideas in guides like best tool wall mount for basement.
Fixes to Try
- Line the contact edges. Clean the drill slots, shelf lips, and hook surfaces with a dry cloth, then apply adhesive-backed felt strips, thin rubber U-channel edge trim, or sections of drawer liner where plastic touches metal. Focus on the front lip of each slot and any vertical edges where housings rub during insertion.
- Adjust spacing and orientation. Try leaving one empty slot between your most-used drills, turn belt clips outward so they do not catch, and store bulkier tools like circular saws on a wider shelf area. If your system allows it, reposition hooks so handles hang without touching neighboring tools, as shown in ideas for low ceiling drill holder wall mounts.
- Change how you load and unload. Lower tools straight down into slots instead of sliding them forward, and lift straight up to remove. Avoid twisting the tool while it is still in contact with the metal edge, and clear any grit from the rack with a soft brush before placing tools back.
- Tighten and level the mount. Check that wall anchors and screws are snug and that the rack does not flex when you load it. A stable, level rack reduces shifting and vibration that causes repeated rubbing, and following the manufacturer’s instructions for wall type and anchor placement helps keep it steady.
- Add individual protection for delicate housings. For tools with glossy or new housings you want to keep pristine, consider a light wrap of self-adhesive silicone tape on high-contact areas of the tool itself, or store those tools in a soft holster on the rack rather than a bare metal slot. This creates a buffer without modifying the rack permanently.
When to Consider Replacing It
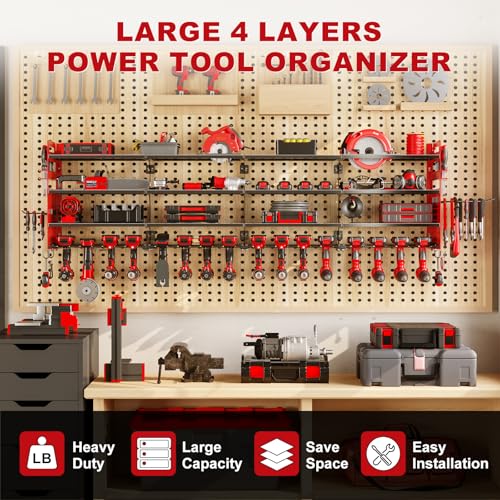
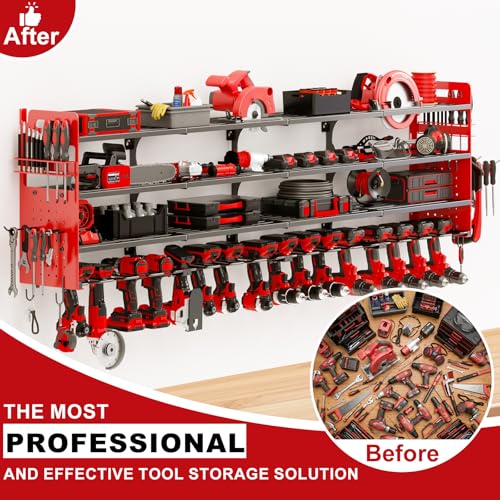
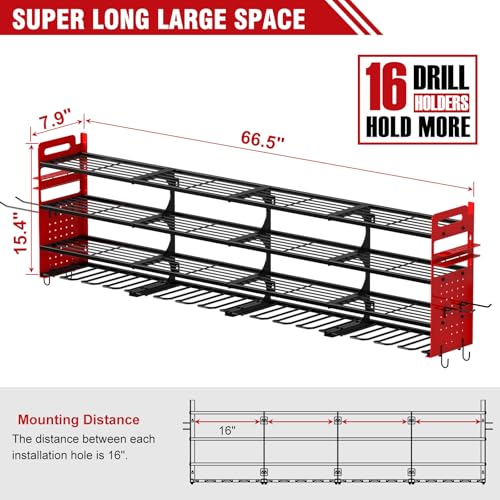
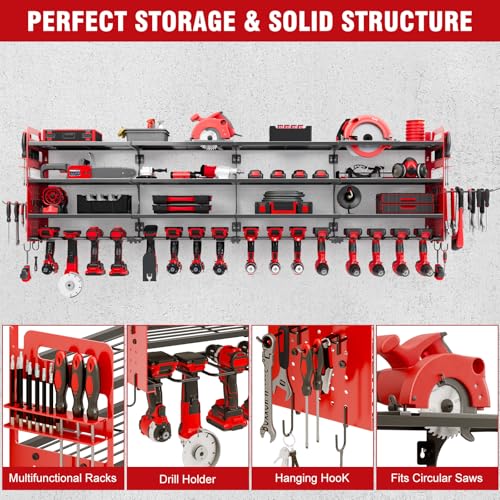
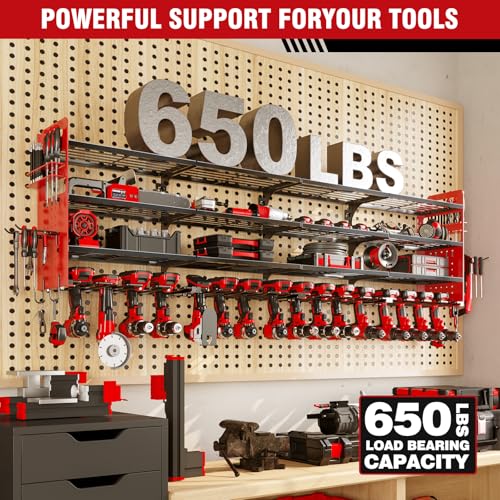
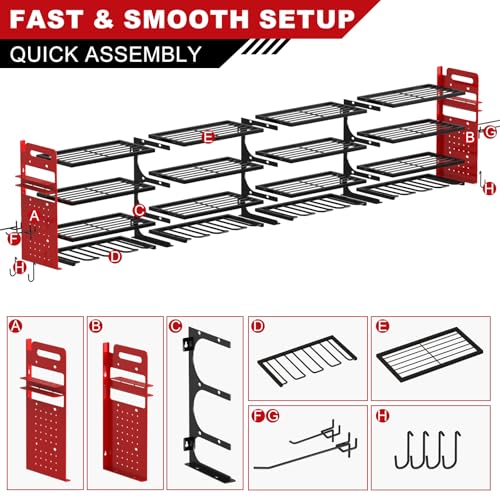
If the coating is chipped across many edges, slots are bent or deformed, or you have already added padding and still see fresh gouges from sharp weld points or rough cutouts, repair may not be worth the effort. A rack with consistently rough edges or poor clearance will keep marking housings no matter how carefully you load it. If you would rather replace it than keep troubleshooting, one practical option is the power tool organizer designed for solid wall mounting with smoother, more forgiving contact points.
This article contains affiliate links. If you buy through one of our links, TheGarageCrafted may earn a commission at no extra cost to you. Commissions never influence which products we recommend or how we rank them. Read our Affiliate Disclosure for details.

Neatolgrid 65-Inch Heavy Duty Power Tool Organizer


As an Amazon Associate we earn from qualifying purchases. Product prices and availability are accurate as of the date/time indicated.
When to Skip This and Call a Professional
This padding and spacing advice is not ideal for racks that are pulling away from the wall, sagging under load, or mounted to crumbling drywall or masonry without proper anchors. If you see cracked drywall, loose studs, or any sign the rack could fall, skip this DIY fix and have the mounting evaluated. Always follow the manufacturer’s weight capacity and wall anchoring instructions, and for any rack that requires new electrical outlets or hardwired charging stations nearby, that work is not recommended for DIY and should be handled by a licensed electrician.
Frequently Asked Questions
Why is my tool wall rack scratching my drills even though it looks smooth?
Even a smooth powder coat can have a sharp or slightly raised edge at the cutout where the metal was formed. That edge concentrates pressure on a small area of plastic when you angle the tool in or out. Adding a soft edge trim or felt removes that pressure point and usually reduces fine scratches.
Can I use rubber coating or plasti dip on the rack to stop scratches?
You can try a removable rubber edge trim or adhesive padding first, since spray coatings can be uneven and may peel, leaving more texture that traps grit. If you do coat it, make sure the rack is clean and dry, allow it to cure fully before loading tools, and check that slots still have enough clearance so tools do not fit even tighter.
Will scratches from the rack affect my power tool performance?
Surface scuffs on the housing are usually cosmetic and do not affect motor or battery function. However, deep gouges near vents, battery rails, or chuck housings could let more dust in or make battery changes less smooth, so it is worth preventing further abrasion with padding and gentler handling.
Browse more picks in our Power Tool Wall Mount Organizers category, or see our related guide on Best Tool Wall Mount for Basement: 10 Organizers to Reclaim Space 2026.






Write Your Review
No reviews yet. Be the first to share your experience!